
Lawn
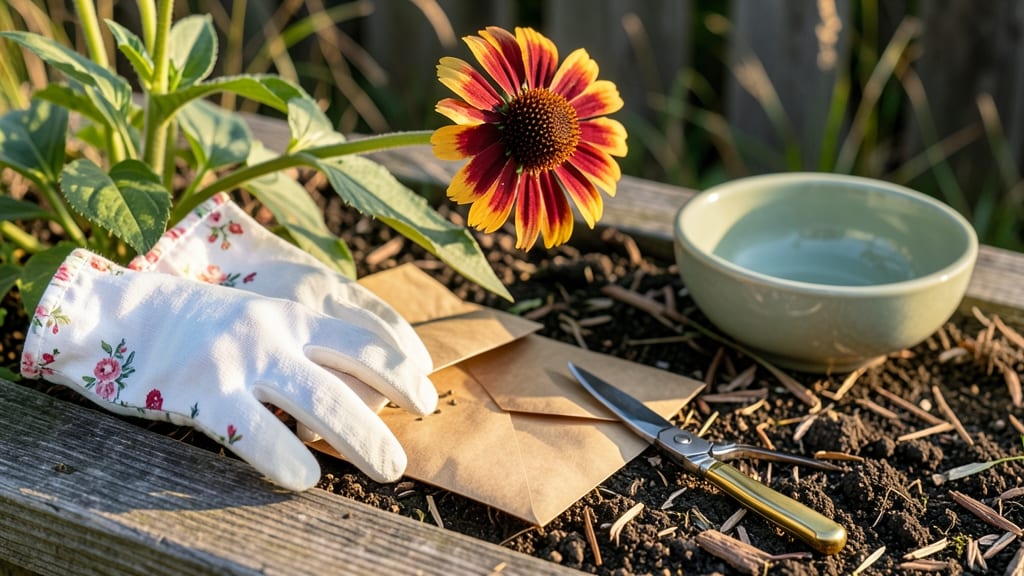
Zinnia seed collection is like saving tiny packets of next summer’s color—except it’s free and foolproof. 🌻 The secret starts with letting a few blooms stay on the stem past their prime, turning brown and papery while the rest of your garden hums with fresh flowers. I’ve saved seeds from my zinnias for three years now, and each time, I’m amazed by how easy it is to cheat the seed racks at the nursery.
You’ll need just three things: patience (the biggest challenge), a pair of clean scissors or fingers, and a dry spot to let those seeds mature. Skip the fancy equipment—this works with what you already have.
The best part? Those seeds stay viable for up to five years, so you’re not just saving money, you’re building a garden legacy.
By late summer, your spent zinnias will transform into seed heads that rattle with potential. Snip them off, let them dry completely, then rub the seeds into your palm—what you’ll get is a harvest that’s 100% free and packed with the exact varieties you love.
No more guessing at the store which zinnias will thrive in your space.
Whether you’re planting in garden beds or containers, these seeds grow just as reliably as their store-bought cousins—often better, since they’re already adapted to your climate. Here’s how to turn those dried heads into next year’s showstoppers without a single stress.
📚 In This Guide
- What you need
- Instructions
- Tips and common mistakes
- Wrapping up and next steps
What you need
- ● Mature zinnia plants – Choose healthy, disease-free blooms that have fully dried on the stem (🌸 bonus points for vibrant colors!).
- ● Sharp scissors or pruning shears – A clean pair (sterilized with rubbing alcohol) to snip seed heads without damaging stems.
- ● Paper bags or brown lunch bags – 2–3 per plant (one per seed head) to collect seeds and prevent moisture buildup.
- ● Drying tray or screen – A flat, breathable surface (like a wire rack or cardboard) to spread seed heads for drying.
- ● Small envelopes or seed packets – 5–10 (label them with the zinnia variety and year!).
- ● Permanent marker or labels – For tracking varieties and harvest dates.
- ● Air-tight containers or resealable bags – 1–2 (small mason jars or ziplock bags work great for long-term storage).
- ● Desiccant packets – Toss one into storage containers to absorb excess moisture.
- ● Fine-mesh sieve – For separating seeds from chaff if you prefer ultra-clean collections.
- ● Hand lens or magnifying glass – To inspect seeds for pests or damage before storage.
- ● Freezer-safe bags – If storing seeds long-term (beyond 1 year), these add an extra layer of protection.
How to collect zinnia seeds for next season’s garden
Let’s turn this year’s spent blooms into next year’s vibrant garden—no fancy tools or complicated steps required.
🌱 Step 1: Select the Healthiest Zinnia Blooms
Wait until late fall or after the first frost when zinnia foliage browns but remains upright. Choose blooms that stayed strong through the season—look for stems that are thick and sturdy, not thin or wilted. Avoid flowers that developed mold or pests, as those traits can carry over to next year’s seeds.
Snip the entire dried flower head with 4-6 inches of stem attached using clean pruners or scissors. I like to gather them on a dry, sunny afternoon when the air is still—this prevents moisture from encouraging rot in the stems before storage. Place them in a paper bag (not plastic) to allow airflow and prevent mold.
🌿 Step 2: Dry the Seed Heads Properly
Hang the flower heads upside down in a dry, dark, well-ventilated space for 2-3 weeks. A basement, garage, or even a closet with a fan works perfectly. The seeds mature when the flower head turns completely brown and brittle—you’ll hear them rattle when shaken. This is your cue that they’re ready.
Real talk: Don’t rush this step. If seeds aren’t fully dry, they’ll mold in storage. I test dryness by gently crushing a seed between my fingers—if it crumbles easily, it’s ready. If it feels damp or sticky, leave it another week.
✂️ Step 3: Extract and Store the Seeds
Once dry, place the flower heads in a paper bag and gently rub or crush them with your hands to release the seeds. The seeds will fall out while the dried stems and chaff stay behind. I like to do this over a sheet of white paper to spot any remaining seeds that might stick to the debris.
Transfer the seeds to a small envelope or airtight container and label it with the zinnia variety and the year. Store in a cool, dry place (like your fridge or seed drawer) where they’ll stay viable for 2-3 years. The key is keeping them dry—moisture is the enemy of seed longevity.
💧 Step 4: Test a Few Seeds Before Full Planting
Before committing to sowing all your collected seeds, test a handful in a small pot or seed tray. Press them ¼ inch deep into moist potting mix and keep the soil lightly damp until germination (usually 7-14 days at 70°F). If they sprout well, you’ve got a winning batch.
Here’s the thing—some zinnia varieties don’t always come true from seed, meaning the offspring might not match the parent plant’s color or size. If you’re particular about your blooms, consider saving seeds only from your favorite varieties or buying fresh seeds for hybrids.
⏰ Step 5: Plan for Next Year’s Planting
Once seeds are stored, note your zinnia varieties and their preferred growing conditions. Zinnias thrive in full sun and well-draining soil, so mark your garden plot or container spots accordingly. Start seeds indoors 6-8 weeks before your last frost date for early blooms, or sow directly outdoors after all frost risk has passed.
Don’t forget to rotate your planting locations next season—this helps prevent soil-borne diseases from building up. And if you’re feeling ambitious, try growing a few extra plants from your saved seeds to share with fellow gardeners!
Tips & tricks for perfect zinnia seed harvesting
Here's what nobody tells you about saving zinnia seeds that actually works.
Timing Secret: The 2-3 week drying period in Step 2 is non-negotiable—this is when seeds fully mature and develop hard outer shells that protect them during storage. I've learned the hard way that rushing this step leads to moldy seeds that won't germinate. If you're in a hurry, consider using a small fan to create gentle airflow around your hanging seed heads, which can shave off 3-5 days without sacrificing quality.
Equipment Upgrade: While you don't need anything fancy, a small mesh bag or breathable fabric bag works better than paper for hanging seed heads. The extra airflow helps prevent any accidental moisture buildup. For extraction, I keep a shallow tray lined with white paper on hand—it makes collecting those tiny seeds so much easier than trying to chase them across the counter.
Storage Wisdom: When storing your seeds in Step 3, add a small silica gel packet to your airtight container. These packets (often included in shoe boxes) absorb any residual moisture that could compromise seed viability. I also date my containers—this helps me track seed age and prioritize planting the oldest seeds first, which tend to have lower germination rates over time.
Germination Test: The germination test in Step 4 is your quality control check. If your seeds don't sprout within 14 days at 70°F, they may have lost viability. I like to test 3-5 seeds from each variety to get a good sample size. For varieties that consistently struggle to come true from seed, I make a note to purchase fresh seeds for those specific colors next season—it's a small investment for guaranteed results.
Pro Tips for Zinnia Seed Collection
- Here's what nobody tells you about saving zinnia seeds that actually works.
- Timing Secret: The 2-3 week drying period in Step 2 is non-negotiable—this is when seeds fully mature and develop har...
- Equipment Upgrade: While you don't need anything fancy, a small mesh bag or breathable fabric bag works better than p...
Frequently asked questions
Got questions about collecting zinnia seeds? You’re not alone! Here are some of the most common concerns—and their easy solutions—to help you master the process like a pro.
When is the best time to collect zinnia seeds?
Wait until the blooms have fully faded and the seed heads turn brown and papery (usually late summer to early fall). If you harvest too early, the seeds won’t mature properly. Pro tip: A gentle tug should release the head—if it resists, wait a few more days!
How do I know if the seeds are ready to harvest?
Look for dry, crumbly seed heads with tiny, dark seeds inside. If you open a head and see plump, mature seeds (not green or moist), they’re ready! Avoid collecting if the heads are still green or sticky—this means they’re not fully ripe.
Can I collect seeds from dead or diseased zinnias?
No—always skip seeds from plants showing signs of disease (like spots, wilting, or mold). Healthy plants produce viable seeds, while diseased ones may pass on problems. Pro tip: Remove affected plants immediately to protect your garden!
How should I store zinnia seeds for next year?
Place dried seed heads in a paper bag (not plastic—it traps moisture) and store them in a cool, dark, dry place (like a pantry). Label them with the variety and date! Seeds stay viable for 2–3 years if stored properly.
What if my zinnias don’t produce seeds?
Check for these issues:
- Not enough sunlight (zinnias need 6+ hours of full sun daily).
- Over-fertilizing (too much nitrogen = more leaves, fewer blooms).
- Deadheading too late (remove faded blooms before seed heads form).
Wrapping up and next steps
Collecting zinnia seeds is a simple yet rewarding way to ensure next year’s garden bursts with vibrant blooms—without breaking the bank!
By following these stress-free steps, you’ll save money, preserve heirloom varieties, and enjoy the joy of homegrown flowers. 🌻 Now that you’re ready, why not share your newfound skills? Try swapping seeds with fellow gardeners or gifting them to friends—spreading beauty (and seeds!) one bloom at a time.
Next step: Grab your pruners and head to the garden—your future zinnia patch is waiting!