
Propagation
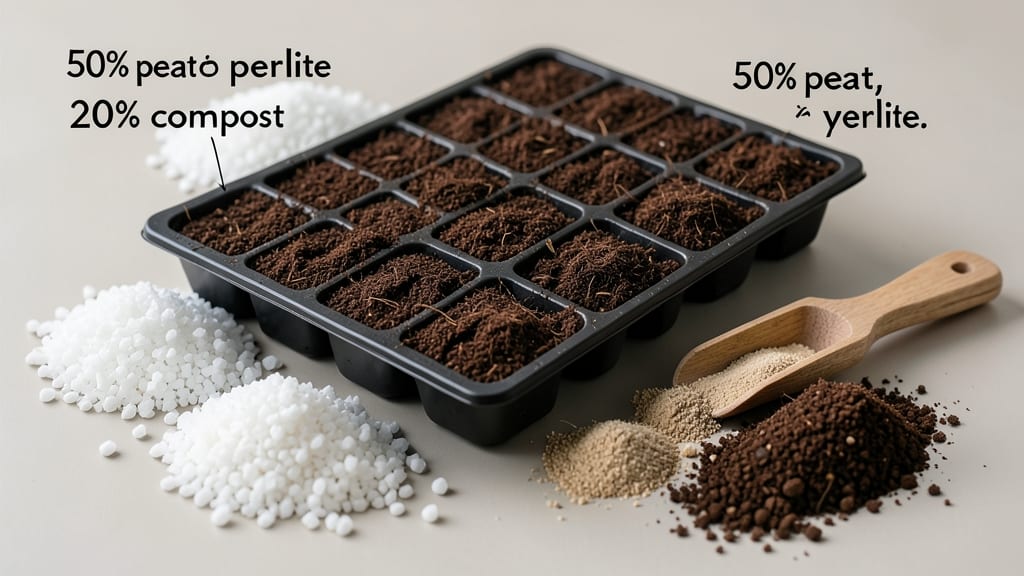
The perfect soil mix for seed starting isn’t just dirt—it’s the foundation for your future garden. ✨ I’ve learned the hard way that cheap potting soil clumps into bricks, while store-bought mixes sometimes drain too fast.
The magic lies in balancing lightweight ingredients like perlite and coconut coir to create a fluffy, moisture-retentive medium that roots love. Start with equal parts peat moss or coconut coir, perlite, and compost—this trio gives seeds the ideal mix of moisture, aeration, and nutrients.
For delicate seedlings like lettuce or petunias, add 10% extra perlite to prevent damping-off, while hardy herbs like basil tolerate slightly denser mixes. Pre-mixed bags work, but they often lack the customization needed for your climate or seed types.
You’ll know you’ve nailed it when your seedlings emerge with bold, dark-green leaves and sturdy stems, not leggy or moldy. The mix should crumble easily when squeezed (like a damp sponge) and drain within 10-15 minutes—no soggy bottoms or dusty clods.
Sterilize your mix by baking it at 200°F for 30 minutes to kill fungi and bacteria lurking in old soil. For long-term success, adjust ratios based on your seeds: finer textures for tiny seeds (like snapdragons) and coarser mixes for heartier plants (like tomatoes).
And here’s the secret—sterilize your containers too! A little prep now means no surprises later when your seedlings are ready to transplant.
📚 In This Guide
- What you need
- Instructions
- Tips and common mistakes
- Wrapping up and next steps
What you need
- ● 50% Peat Moss or Coco Coir – Holds moisture while staying loose (4 cups). Coco coir is eco-friendly and reusable!
- ● 30% Perlite or Pumice – Adds aeration and prevents compaction (3 cups). Perlite is lightweight but pumice improves water retention.
- ● 20% Vermiculite – Retains moisture and nutrients (2 cups). Great for seeds needing consistent dampness.
- ○ Optional: 10% Worm Castings or Compost – Boosts nutrients (1 cup). Use sparingly—too much can compact the mix.
- ● Large mixing container (e.g., wheelbarrow or clean bucket)
- ● Gloves (to protect hands from grit)
- ● Fine-mesh screen (for sifting out clumps)
- ● Spray bottle (for moistening the mix)
- ○ pH testing kit (optional but helpful—ideal pH: 5.8–6.5)
How to create the perfect seed-starting soil mix
This blend gives seedlings the ideal head start—light enough for tender roots to push through yet sturdy enough to support early growth.
🌱 Step 1: Combine Base Components for Airflow and Moisture Balance
Start with 50% peat moss or coconut coir—this holds moisture while resisting compaction. I measure by volume, not weight, for consistency. Add 30% perlite or vermiculite (perlite for extra drainage, vermiculite if your climate stays cool). These mineral additives create air pockets that prevent waterlogging, which is the #1 killer of young seedlings.
Mix these two components first in a large clean bin. Use a trowel or gloved hands to break up any clumps in the peat or coir. The texture should resemble crumbled styrofoam—light but not powdery. If it feels too dense, add an extra 10% perlite until it passes the "squeeze test": when pressed, it should spring back immediately rather than hold a shape.
💧 Step 2: Add Organic Matter for Nutrient Density
Incorporate 20% worm castings or compost (finely screened to avoid large chunks). This provides gentle, slow-release nutrients that won't burn delicate seedlings. I sift mine through a ¼-inch mesh to remove any debris that could harbor fungal spores. Distribute evenly throughout the mix, then fold it in with a garden fork to ensure uniform distribution.
At this stage, the blend should smell earthy but not sour. A faint musty aroma indicates healthy microbial activity, while any sharp or chemical odors mean your compost wasn't fully broken down. If you notice this, bake the compost at 170°F for 30 minutes to sterilize it—seedlings are too vulnerable for risky soil.
✂️ Step 3: Adjust Texture for Seed-Specific Needs
For tiny seeds (like lettuce or carrots), add 10% fine horticultural sand to improve crumb structure. For larger seeds (tomatoes, beans), reduce sand to 5%—their stronger roots can handle slightly coarser texture. Mix thoroughly until no streaks remain. The final blend should resemble a cross between pumice and moistened sawdust when you pinch a handful.
Test the moisture retention by squeezing a handful. It should hold together when pressed but not drip water. If it's too dry, mist with lukewarm water until evenly damp (not soggy). For seeds that need darkness to germinate (like basil), add 1 part charcoal to the mix—it absorbs excess moisture and prevents damping-off. Charcoal also helps neutralize any residual chemicals from potting materials.
☀️ Step 4: Sterilize and Store for Long-Term Use
To eliminate pathogens, spread the mix on a baking sheet and bake at 180°F for 30 minutes. This heat treatment kills fungus spores and bacteria without harming the organic structure. Let it cool completely before use—hot soil can shock seeds and prevent germination. Store any unused mix in a sealed container with a moisture-retaining liner (like a damp paper towel) to maintain freshness.
I like to label each batch with the date and seed types it's intended for. This blend stays viable for 3-4 months if stored in a cool, dry place. Before each use, fluff it gently with a fork to restore airflow. The key to successful seed starting is this balance: light enough for roots to explore, moist enough to support growth, but never waterlogged. This mix delivers all three.
Tips & tricks for perfect seed-starting soil mix
These pro-level insights will help you create the ideal growing medium that gives seedlings the perfect foundation.
Ingredient Quality Matters: Never skimp on the peat moss or coconut coir—low-quality versions can compact over time and suffocate roots. I always source mine from reputable garden centers or organic suppliers. For vermiculite or perlite, look for fresh bags labeled "sterile" to avoid introducing pathogens. The difference between good and great soil starts with these foundational ingredients.
Sterilization is Non-Negotiable: That 30-minute bake at 180°F isn't optional—it's the difference between healthy seedlings and potential damping-off disease. I use a wire rack on top of the baking sheet to ensure even heat circulation. After sterilizing, let the mix cool completely before use; hot soil can actually cook your seeds rather than help them germinate.
Texture Test for Success: The "squeeze test" from Step 1 is your quality control moment. When you press the mix, it should hold together briefly but spring back immediately—like a damp sponge. If it stays compacted, add another 5% perlite. For moisture testing in Step 3, aim for the consistency of a well-wrung-out sponge: damp but not dripping. This balance is what prevents both waterlogging and dry-out.
Optional Nutrient Boost: For extra vigor in seedlings, you can add 5% mycorrhizal fungi to the worm castings during Step 2. These beneficial microbes form symbiotic relationships with plant roots, enhancing nutrient uptake. I only recommend this for serious gardeners—it's not essential but can give you that competitive edge when seedlings are transplanted.
Pro Tips for Soil Mix For Seed Starting
- These pro-level insights will help you create the ideal growing medium that gives seedlings the perfect foundation.
- Ingredient Quality Matters: Never skimp on the peat moss or coconut coir—low-quality versions can compact over time a...
- Sterilization is Non-Negotiable: That 30-minute bake at 180°F isn't optional—it's the difference between healthy seed...
Frequently asked questions
Got questions about the perfect soil mix for seed starting? You’re not alone! Here are answers to the most common concerns—so you can grow confidently from seed.
What’s the best ratio for a DIY seed-starting mix?
A balanced mix typically combines 50% peat moss or coco coir (for moisture retention), 30% perlite or vermiculite (for aeration), and 20% compost or worm castings (for nutrients). Adjust perlite/vermiculite if your climate is extra wet or dry!
Can I reuse last year’s seed-starting mix?
Reusing mix isn’t recommended—it can harbor fungi, bacteria, or pests from previous seeds. Sterilize it by baking at 200°F (93°C) for 30 minutes or mix in fresh amendments (like perlite or compost) to refresh it. When in doubt, compost it and start fresh!
How often should I water seeds in the mix?
Keep the mix consistently moist (not soggy!). Water gently from the bottom (using a tray) to avoid disturbing seeds. Most seeds need watering every 2–3 days, but check moisture with your finger—topsoil should feel damp like a wrung-out sponge.
What’s a good alternative if I can’t find peat moss?
No problem! Swap peat moss for coco coir (eco-friendly and renewable), sphagnum moss (great for moisture), or even shredded coconut husk. Just ensure your mix still drains well—add extra perlite if needed to prevent compaction.
Why are my seeds rotting in the mix?
Overwatering or poor drainage are usually the culprits. Ensure your mix has 30–40% perlite/vermiculite for airflow, and avoid letting trays sit in standing water. If seeds are already planted, lift them gently and replant in fresh, drier mix—just be extra careful with delicate sprouts!
Wrapping up and next steps
Starting seeds is one of the most rewarding parts of gardening, and the right soil mix is your secret weapon for success! 🌱 Whether you choose a pre-mixed blend or craft your own, prioritizing lightweight loam with excellent drainage and airflow ensures strong, healthy seedlings ready for transplanting.
With the right foundation, you’re already halfway to a thriving garden—now it’s time to get growing!
Ready to take the next step? Grab your seeds, mix your soil, and start planting! Keep an eye on moisture and light, and soon you’ll be harvesting the fruits of your labor. Happy gardening! 🌿✨