
Lawn
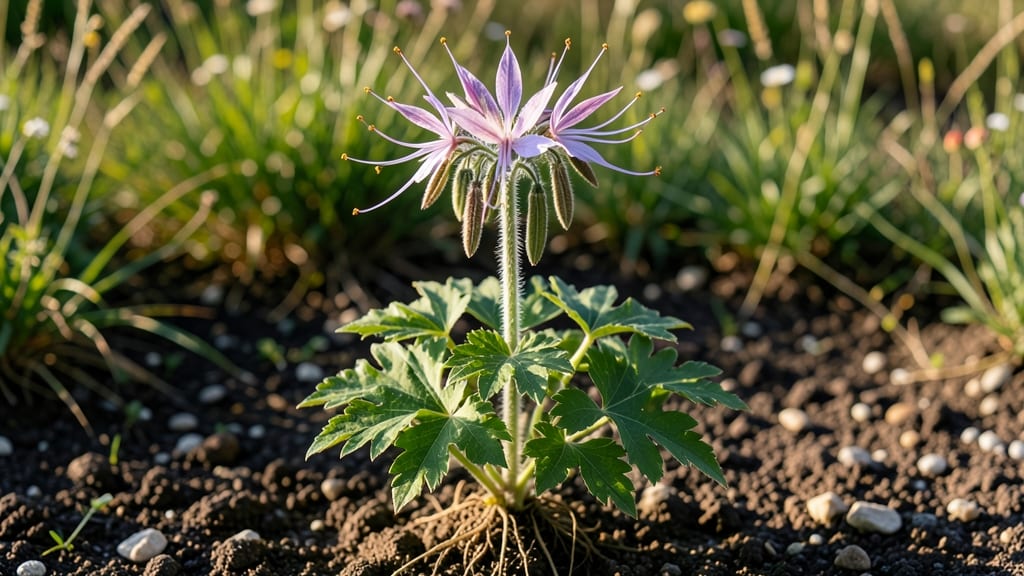
Those spiky cleome seed pods are nature’s most dramatic botanical sculptures—and they’re packed with free seeds for next year’s garden. 🌿 I’ve learned the hard way that letting them dry on the plant means losing seeds to birds or rot, so I developed a foolproof method to collect them before they pop open on their own.
The secret lies in timing and technique: harvest pods when they’re paper-thin and brown (usually late summer to early fall), then dry them indoors for a week. Once fully dry, they’ll open dramatically on their own, releasing seeds you can store for 3-5 years—no fancy equipment needed.
You’ll end up with a zero-waste system that saves seeds, creates stunning dried arrangements, and even lets you propagate new plants from fallen seeds. The pods themselves make gorgeous centerpieces that last months, turning gardening into a year-round craft.
Whether you’re saving seeds for heirloom varieties or just love the drama of these plants, this method works for any cleome—from the classic ‘Spider Flower’ to dwarf varieties. Let’s get those seeds secured!
📚 In This Guide
- What you need
- Instructions
- Tips and common mistakes
- Wrapping up and next steps
What you need
- ● Cleome seeds – Start with 10-20 seeds (organic, non-GMO preferred for best results).
- ● Well-draining potting mix – 10-15 lbs (blend of peat moss, perlite, and compost for optimal aeration).
- ● Containers or garden bed – 5-6 inch pots (for seedlings) or full sun garden space (6+ hours of sunlight daily).
- ● Watering can or hose with gentle spray – Keep soil consistently moist but not soggy.
- ○ Fertilizer (optional but helpful) – Balanced 10-10-10 or compost tea (apply lightly every 4-6 weeks).
- ● Pruning shears – For trimming dead foliage or harvesting pods.
- ● Paper bags or breathable mesh bags – 1-2 per plant (to collect mature pods naturally).
- ○ Gloves (optional) – Cleome stems can be prickly; lightweight gardening gloves help.
- ● Label markers – To track seed varieties if growing multiple types.
- ● Patience (the most important tool!) – Cleome pods take 60-90 days to mature.
- ● Local climate knowledge – Cleome thrives in USDA Zones 2-11; adjust watering for drought-prone areas.
How to harvest cleome seeds naturally without losing a single pod
Here's how I save cleome seeds year after year—no scissors or pruners required.
🌿 Step 1: Wait for Pods to Mature Fully
Cleome seed pods won't open on their own until they're completely mature. You'll know they're ready when the pods turn from green to a deep, papery brown and develop a slightly papery texture. Gently squeeze one—if it feels dry and hollow inside, it's time to harvest. I check my plants every 3-5 days during late summer because these pods ripen fast.
Don't rush it—immature pods won't contain viable seeds, and forcing them open too early leads to shriveling. The pods should also develop small cracks along their seams, which is nature's way of signaling they're ready to release seeds. If you see birds pecking at your plants, you've waited too long—they love cleome seeds too!
💧 Step 2: Create a Natural Drying Environment
Once pods are mature, cut the entire seed stalk and hang it upside down in a dry, well-ventilated area. I use a dark closet or garage with good airflow because direct sunlight can cause the pods to overheat and split prematurely. The goal is to let the pods dry completely—this can take 7-14 days depending on your climate's humidity.
Check daily for any pods that have already opened naturally. These will release their seeds easily when you gently shake the stalk. If you notice mold or dampness developing, move the stalk to a drier location immediately. The pods should feel light and brittle when fully dry—almost like they're made of paper.
☀️ Step 3: Shake or Brush Out Seeds
Once the pods are completely dry, place the stalk over a large bowl or tray lined with newspaper. Gently shake the stalk or use a clean paintbrush to tap each pod individually. The seeds should fall out easily—cleome seeds are large and easy to handle. I find it's best to do this outdoors on a breezy day so any stray seeds that escape can be collected from the ground later.
Don't worry if a few pods resist—simply squeeze them gently between your fingers to release the seeds. The paper-thin walls will crumble easily once fully dry. After collecting, spread the seeds on a clean paper towel in a single layer to dry for another 24 hours. This final drying step ensures maximum viability for next year's planting.
⏰ Step 4: Store Seeds Properly for Next Season
Once completely dry, transfer the seeds to a small paper envelope or airtight container. I label each with the variety and harvest date—cleome seeds can stay viable for 3-5 years if stored properly. Keep them in a cool, dark place like a seed drawer or pantry. The key is maintaining consistent low humidity—moisture is seeds' worst enemy.
For extra protection, place a small silica gel packet in the container to absorb any moisture. Check your seeds annually and replant any that show signs of deterioration. You'll know they're still good if they remain firm and dark in color. With proper storage, you'll have fresh cleome plants blooming every year without buying new seeds!
Tips & tricks for perfect cleome seed harvesting
Here's what nobody tells you about saving every last cleome seed without losing a single pod.
Pod Maturity Test: The squeeze test in Step 1 is your best friend. A mature pod should feel completely dry and hollow—almost like it's made of paper. If you hear a slight crunch when you squeeze, that's your cue. Immature pods will feel firm and full, while overripe ones might already be splitting open. I've learned this the hard way after trying to harvest seeds too early and ending up with shriveling disappointment.
Drying Environment Secrets: For Step 2, I've found that a dark closet with a small fan blowing gently works better than just hanging in any old corner. The airflow is crucial—it prevents mold while keeping the pods from overheating. If your climate is particularly humid (like 70%+), you might need to add a dehumidifier or silica gel packets near the drying stalk. I've seen pods develop mold within 48 hours when humidity wasn't controlled properly.
Seed Collection Efficiency: In Step 3, I've discovered that using a clean paintbrush with stiff bristles works better than shaking for stubborn pods. Simply tap each pod individually—this gives you more control and prevents seeds from bouncing out of your collection bowl. For extra efficiency, I lay down a large sheet of newspaper first, then place the bowl on top. This makes cleanup a breeze and catches any stray seeds that escape during collection.
Storage Longevity: The 3-5 year viability mentioned in Step 4 only applies if you control humidity properly. I've had seeds last up to 7 years when stored in mylar bags with oxygen absorbers in a sealed container. Regular paper envelopes work fine for 3-5 years, but for long-term storage, invest in food-grade storage solutions. Always check seeds annually—even properly stored seeds can lose viability over time.
Pro Tips for Cleome Seed Pods
- Here's what nobody tells you about saving every last cleome seed without losing a single pod.
- Pod Maturity Test: The squeeze test in Step 1 is your best friend. A mature pod should feel completely dry and hollow...
- Drying Environment Secrets: For Step 2, I've found that a dark closet with a small fan blowing gently works better th...
Frequently asked questions
Got questions about growing and harvesting cleome seed pods? You’re not alone!
Here are answers to the most common queries—from timing tricks to troubleshooting—so you can master zero-waste seed saving with confidence.
When do cleome seed pods turn brown and open naturally?
Cleome seed pods typically brown and split open 4–6 weeks after flowering, especially in dry conditions. If pods stay green or closed, they may need a little help—try drying them indoors on a paper towel or hanging them upside down in a mesh bag. Patience is key!
How long does it take for cleome seeds to mature inside the pods?
Seeds inside cleome pods mature in 6–8 weeks after flowering, but pods may not open until fully dry. If you’re in a humid climate, pods can take 10+ weeks. Speed up the process by harvesting pods when they turn brown and storing them in a paper bag with silica gel or rice for 2–3 weeks.
What if my cleome pods won’t open on their own?
Don’t worry—this is common! Try these zero-waste tricks:
- Paper towel method: Place pods on a dry towel and let them air-dry for 1–2 weeks.
- Mesh bag trick: Hang pods upside down in a breathable bag to catch seeds as they release.
- Freeze & thaw: Pop pods in the freezer overnight, then thaw at room temp to help them crack open.
Can I save cleome seeds from store-bought plants?
Yes! If your cleome plant is open-pollinated (most varieties are), seeds from store-bought plants will grow true. Just ensure the plant is not hybridized (check the tag). For best results, grow from saved seeds for consistent traits—hybrids may not reproduce identically.
Do cleome seed pods need special storage conditions?
Store dried cleome seeds in a cool, dark, dry place (like a sealed jar or envelope) for up to 3–5 years. Avoid plastic bags—they trap moisture and cause mold. For extra protection, add a silica gel packet or a few grains of rice to absorb humidity. Label your seeds!
Why are my cleome pods shriveled or moldy?
Shriveled pods often mean overripe seeds or drought stress. Moldy pods? That’s usually excess moisture—either from rain or poor airflow. To prevent this:
- Harvest pods before they touch the ground.
- Space plants for better air circulation.
- Use a fan in humid climates.
Wrapping up and next steps
From understanding the unique cleome seed pod lifecycle to mastering zero-waste seed-saving tricks, you’re now equipped to transform these striking blooms into sustainable treasures! 🌱 With just a few simple techniques—like drying, freezing, or even gentle tapping—you can effortlessly harvest seeds while minimizing waste.
Why not share your newfound skills with fellow gardeners or even start a small seed-swap group? Your next step? Plant a few cleome seeds today and watch your garden bloom with both beauty and purpose!