
Lawn
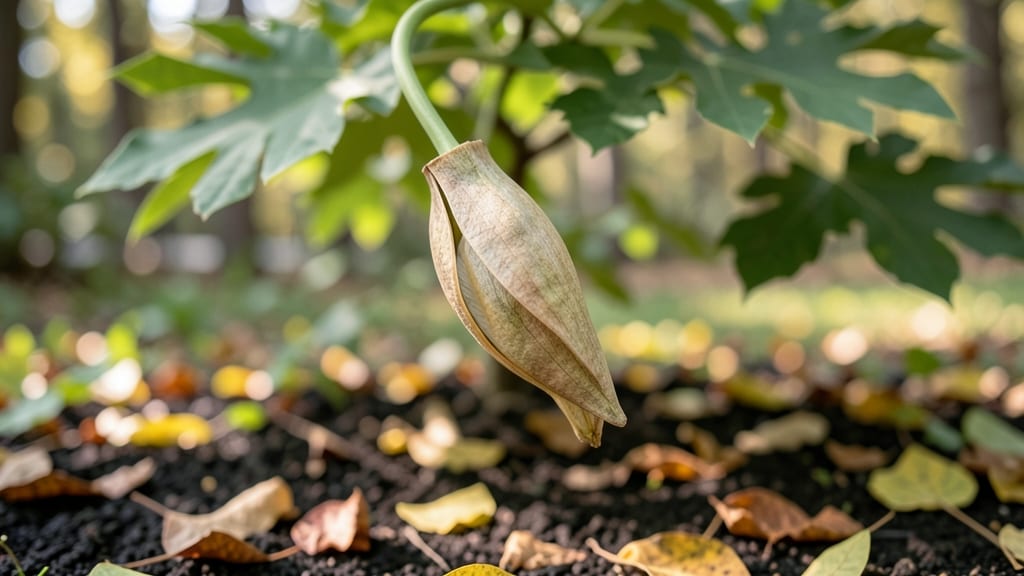
Cold-stressed germination is the secret to breaking open those stubborn tulip tree seed pods. 🌱 I’ve struggled with them for years—until I discovered how a simple winter chill trick transforms them from impossible to easy.
The pods need this cold treatment to soften their tough shells, making germination reliable instead of hit-or-miss.
You’ll need fresh pods collected in late summer or fall, a moist paper towel, and a plastic bag for the cold treatment. The process takes about 6-8 weeks of refrigeration, but it’s worth it for those first green sprouts peeking through.
Tulip trees thrive in well-drained soil and full sun, so pick a spot with space—they grow fast once established.
After cold treatment, plant the seeds ½ inch deep in spring, keeping the soil consistently moist but not soggy. Young saplings are sensitive to drought, so mulch helps retain moisture while they develop strong roots. Within 4-6 weeks, you’ll see seedlings pushing through the soil—proof that patience pays off.
This method works best for northern climates, but even in warmer areas, a DIY cold stratification setup mimics winter conditions. The key is consistency: don’t rush the cold treatment, and protect young plants from late frosts. Once they’re a few feet tall, they’re tough enough to handle most challenges.
📚 In This Guide
- What you need
- Instructions
- Tips and common mistakes
- Wrapping up and next steps
What you need
- ● Tulip tree seed pods: 5–10 mature, dried pods (harvested in fall or sourced from a nursery). Pro tip: Look for plump, brown pods—these are packed with viable seeds! 🌟
- ● Cold stratification supplies: 1–2 paper towels or coir mats (for moisture retention).
- ● 1 ziplock bag (quart-sized) or airtight container.
- ● 1 label & marker (to track dates and seed batches).
- ● Germination medium: Potting mix: 1–2 gallons of well-draining, sterile mix (e.g., 50% peat moss, 30% perlite, 20% vermiculite).
- ● Seed-starting trays: 1–2 trays with cell packs (2–3" deep) or small pots.
- ● Climate control tools: Refrigerator (set to 35–40°F for stratification).
- ○ Heating mat (optional, for post-stratification warmth at 70–75°F).
- ● Watering supplies: Spray bottle (for gentle moisture).
- ● Misting nozzle (to avoid disturbing seeds).
- ● Humidity dome or plastic wrap (to retain moisture during early germination).
- ● Grow lights (12–16 hours/day) if natural light is insufficient.
- ● Seedling heat mat (for faster root development).
- ● Journal/notebook (to log progress and adjustments).
How to cold-stress tulip tree seed pods for guaranteed germination
This method mimics nature's winter cycle—no fancy equipment needed, just patience and attention.
🌱 Step 1: Collect and Prepare the Seed Pods
Harvest mature tulip tree seed pods when they turn brown and begin splitting open naturally, usually in late summer or early fall. The seeds inside should be plump and dark brown. Remove the seeds from their pods by hand—don't crush them, as the hard outer shell protects the embryo. Store them in a paper bag in a cool, dry place until you're ready to begin stratification.
Here's the thing—tulip tree seeds have a thick, woody coat that needs to soften before germination. If you skip this step, you'll waste months waiting for seeds that may never sprout. I like to soak the seeds in lukewarm water for 24 hours first to kickstart the process, then let them dry completely on a paper towel before moving to cold treatment.
❄️ Step 2: Stratify Seeds for 60-90 Days
Fill a sealed plastic bag or container with a mix of moistened peat moss or perlite—just damp enough that water drips out when squeezed, but not soggy. Place the dried seeds on top of this medium, then seal the container tightly. Store it in your refrigerator's crisper drawer, where temperatures hover around 35-40°F. This mimics winter's cold spell that breaks seed dormancy.
Check the container every 2-3 weeks to ensure the medium hasn't dried out. Spritz lightly with water if needed—you want it consistently moist but never waterlogged. After 60-90 days, the seeds will have absorbed enough cold to trigger germination hormones. You'll notice the outer shells soften slightly when you gently press them between your fingers.
☀️ Step 3: Sow Stratified Seeds in Warmth
Fill 4-inch deep pots with a well-draining mix of 50% potting soil and 50% perlite or sand. Plant the cold-stratified seeds ½ inch deep, spacing them 1 inch apart in the pot. Water gently until the soil surface looks uniformly damp but not wet. Place the pots in a warm spot—70-75°F is ideal—like on top of your refrigerator or near a sunny window.
Germination can take 14-30 days, depending on your home's warmth and humidity. You'll see the first true leaves emerge as small, rounded cotyledons—don't confuse these with the tiny root sprouts that appear first. Keep the soil consistently moist during this phase; let the top ½ inch dry out slightly between waterings to prevent fungal issues.
🌿 Step 4: Transplant Seedlings After True Leaves Form
Once seedlings develop their second set of true leaves (the larger, more defined leaves after the initial cotyledons), they're ready for individual pots. Gently remove them from the starter container, being careful not to damage the delicate roots. Transfer each seedling to a 6-inch pot filled with regular potting soil, burying the stem up to the first set of leaves to encourage strong root growth.
Place the pots in bright, indirect light for the first week to help them adjust. After that, gradually introduce them to morning sun for 2-3 hours daily, increasing exposure over 2 weeks. Tulip tree seedlings grow fast—expect them to reach 12-18 inches tall in their first year if given proper care. This is the moment that matters: proper light now means a sturdy, disease-resistant tree later.
⏰ Step 5: Harden Off Before Outdoor Planting
When nighttime temperatures consistently stay above 50°F in spring, it's time to prepare seedlings for outdoor life. Start by placing them outside in a shaded, sheltered spot for 1 hour the first day. Gradually increase their outdoor time by 1 hour daily over 10-14 days, slowly introducing them to direct sunlight and wind. This process, called hardening off, prevents shock and ensures they thrive once planted.
Choose a permanent planting spot with full sun and well-draining soil. Tulip trees grow best in USDA Zones 4-9, but their roots are sensitive to waterlogging—amend heavy clay soil with compost to improve drainage. Plant seedlings in early spring or fall, spacing them 20-30 feet apart to allow for their massive canopy. Water deeply after planting to settle the soil around the roots, and mulch with 2-3 inches of organic mulch to retain moisture and regulate soil temperature.
Tips & tricks for perfect tulip tree seedling germination
These little-known details make all the difference between waiting months for sprouts and seeing strong seedlings in weeks.
Seed Selection: The key to success starts with the pods themselves. Harvest only when they're fully brown and beginning to split naturally—this ensures the seeds inside are mature and ready for stratification. I've learned the hard way that green or partially open pods often yield seeds that either won't germinate or produce weak seedlings. Look for pods that are dry to the touch and have cracked open slightly at the seams. Once you've collected them, store the seeds in a paper bag (not plastic) in a cool, dry place until you're ready to begin the cold treatment. This mimics the natural drying process that occurs in fall.
Stratification Medium: While the instructions mention moistened peat moss or perlite, I've found that adding a thin layer of sphagnum moss on top of the seeds creates an ideal microclimate. The moss holds moisture better than peat moss alone and prevents the seeds from drying out during their cold treatment. Just make sure to keep everything sealed tightly—oxygen exposure can break dormancy prematurely. For visual confirmation, your seeds should feel slightly softer after the full 60-90 days in the refrigerator, but they won't be completely pliable until they've absorbed the cold treatment.
Germination Timing: The 14-30 day germination window can feel like an eternity, but there are ways to encourage faster results. Place your pots in a warm location (like on top of your refrigerator) and cover them with clear plastic wrap to create a mini greenhouse effect. This traps humidity without overheating the soil. Check for germination daily—you'll spot the first signs when you see tiny white root hairs emerge from the seeds. Once you see these, remove the plastic wrap immediately to prevent fungal growth. The true leaves will appear within 3-7 days after the roots break through, so patience during this phase pays off.
Transplanting Strategy: When it's time to move seedlings to their 6-inch pots, use the "tap and slide" method to minimize root damage. Gently tap the sides of the starter pot, then slide the seedling out rather than pulling it. This preserves the delicate root structure that's critical for early growth. Bury the stem up to the first set of true leaves—this encourages stronger root development below ground while keeping the leaves exposed for photosynthesis. After transplanting, place the pots in bright, indirect light for the first week to help them adjust without shock.
Pro Tips for Tulip Tree Seed Pod
- These little-known details make all the difference between waiting months for sprouts and seeing strong seedlings in ...
- Seed Selection: The key to success starts with the pods themselves. Harvest only when they're fully brown and beginni...
- Stratification Medium: While the instructions mention moistened peat moss or perlite, I've found that adding a thin l...
Frequently asked questions
Got questions about working with tulip tree seed pods? You’re not alone! Here are answers to the most common queries—from timing to troubleshooting—to help you grow strong, healthy sprouts with confidence.
When should I collect tulip tree seed pods for germination?
Harvest pods when they’re brown and dry but still intact—usually in late fall or early winter (October–December). Avoid collecting if pods are cracked open or seeds have already scattered. Store them in a cool, dry place until ready to stratify (ideally within a few weeks).
How long does cold stratification need to last for these seeds?
Tulip tree seeds thrive with 60–90 days of cold stratification (40°F/4°C). Place pods in a sealed bag with moist peat moss or sand, then refrigerate. Pro tip: Check moisture weekly—seeds should feel damp but not soggy. Skip this step, and germination rates may drop below 50%!
Can I use regular potting soil for germination, or do I need something special?
Start with a light, well-draining mix like 50% perlite + 50% peat moss or coco coir. Avoid heavy garden soil—it can suffocate seeds. After sprouting, transplant seedlings into regular potting soil or outdoor beds. Bonus: Add a slow-release fertilizer for faster growth!
Why aren’t my tulip tree seeds germinating after stratification?
Common culprits:
- Over-moisture: Seeds rot if soggy—keep soil barely damp.
- Warmth too soon: Wait until pods show green cracks before moving to warmth (70°F/21°C).
- Old seeds: Pods older than 1 year may lose viability.
What’s the best way to transplant seedlings outdoors?
Wait until all frost risk has passed (spring, after last frost date). Harden off seedlings by gradually exposing them to outdoor conditions (1–2 weeks). Plant in partial sun (6+ hours/day) with rich, slightly acidic soil (pH 6.0–7.0). Space saplings 20–30 feet apart—they grow fast!
Wrapping up and next steps
Cold-stressed tulip tree seed pods offer a reliable, budget-friendly way to grow these stunning trees from scratch—no nursery needed! By mimicking nature’s chilling process, you’ll unlock higher germination rates and healthier saplings.
Whether you’re a gardening newbie or a seasoned green thumb, this method is your ticket to easy, rewarding growth.
Ready to plant your future shade tree? Grab those pods, follow the steps, and watch your garden transform! 🌱💚 Next up: Share your sprouts with fellow gardeners or tag us in your progress—we’d love to see your tulip tree journey!