
Lawn
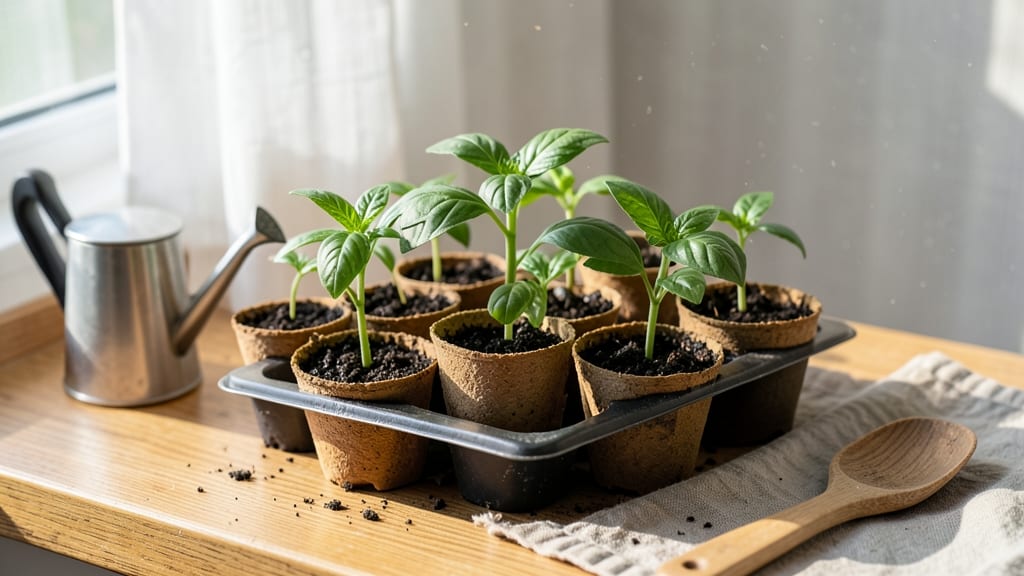
Your lawn’s soil, seed, and water work together like a secret handshake—get it right, and you’ll see grass so lush it makes neighbors jealous. 🌱 I’ve spent years perfecting this trio, and the difference between a patchy yard and a vibrant carpet is often just a few tweaks in how you approach them.
The soil sets the foundation—think of it as the canvas for your lawn. Too much clay? Amend with compost. Sandy soil? Mix in peat moss. Seeds need the right conditions to sprout consistently, and watering isn’t just about timing—it’s about depth.
A deep, infrequent soak encourages strong roots, while light, frequent watering leads to shallow, weak grass.
By the end of this, you’ll know exactly how to test your soil, choose the right seed blend for your climate, and water like a pro—no more guesswork, just thick, twist-free blades that stay green even in heatwaves. The best part?
These principles work for flower beds, veggie patches, and even houseplants. Start with a simple soil test kit, grab high-quality seed, and set a timer for watering. Small changes here lead to big, noticeable results—your lawn will thank you.
📚 In This Guide
- What you need
- Instructions
- Tips and common mistakes
- Wrapping up and next steps
What you need
- ● High-quality soil: 10–15 cubic yards (depending on lawn size). Opt for a loamy mix with 60% sand, 30% silt, and 10% clay for ideal drainage and aeration.
- ● Native grass seeds: Cool-season grasses (e.g., Kentucky Bluegrass, Fescue): 5–8 lbs per 1,000 sq. ft.
- ● Warm-season grasses (e.g., Bermuda, Zoysia): 4–6 lbs per 1,000 sq. ft.
- ● Compost or organic fertilizer: 1–2 bags (50 lbs each) for nutrient-rich soil prep.
- ● Water: Access to a hose, sprinkler, or irrigation system (minimum 1–2 gallons per sq. ft. weekly).
- ● Garden rake: 1 medium-sized (for leveling soil).
- ● Broadcast spreader: 1 (for even seed distribution).
- ○ Lawn roller (optional but helpful): 1 (80–100 lbs weight) to press seeds into soil.
- ● Gloves & knee pads: 1 pair each (for comfort and hygiene).
- ○ Soil test kit (optional): 1 (to check pH and nutrient levels before planting).
- ● Clear the lawn of debris, weeds, or old grass (use a sod cutter or manual removal if needed).
- ● Choose the right planting season (spring/fall for cool-season grasses; late spring/summer for warm-season).
- ● Check local climate and frost dates to align with seed germination timelines.
Step-by-Step instructions for establishing a healthy lawn from scratch
Here’s how to build a lawn that stays vibrant and twist-free year after year—no shortcuts, just proven results.
🌱 Step 1: Test and Prepare Your Soil for Seeds
Start by testing your soil’s pH and nutrient levels with a home testing kit. Lawn grass thrives in soil with a pH between 6.0 and 7.0—if yours is off, you’ll need to adjust it before planting. For acidic soil, sprinkle lime evenly; for alkaline soil, work in sulfur according to package instructions. Mix in 2-3 inches of compost to loosen the topsoil and improve drainage.
Rake the area smooth with a garden rake, removing rocks and debris. The goal is a level surface—any bumps will create uneven growth. Press the soil lightly with a lawn roller to eliminate air pockets, then water deeply to settle everything. This prep ensures seeds make solid contact with moist soil, which is critical for even germination.
💧 Step 2: Sow Seeds at the Right Depth and Spacing
Spread seeds evenly using a seed spreader—this prevents clumping and ensures uniform coverage. For most cool-season grasses, aim for 5-8 pounds per 1,000 square feet. Lightly rake the seeds into the soil with a fine-toothed rake, pressing them just ¼ inch deep. Deeper planting delays germination, while too-shallow seeds dry out or get washed away.
Water immediately after sowing to activate the seeds, then keep the soil consistently moist (not soggy) for the first 10-14 days. You’ll see the first sprouts in 5-7 days—watch for tiny green blades pushing through the soil. Avoid walking on the area until the grass reaches 2-3 inches tall to prevent disturbing the roots.
☀️ Step 3: Water Deeply and Adjust for Grass Growth Stages
New grass needs ½ inch of water per week, split into two waterings: one in the morning and one in the evening. Use a rain gauge to track moisture—overwatering suffocates roots, while underwatering stresses young blades. Once the grass reaches 3-4 inches tall, gradually reduce watering to ¼ inch per week to encourage deep root growth.
Mow when the grass hits 3-4 inches, never cutting more than ⅓ of the blade height at once. A sharp mower blade prevents tearing, which invites disease. Leave clippings on the lawn—they decompose quickly, returning nutrients to the soil. This routine builds resilience, so your lawn stays lush even during dry spells.
✂️ Step 4: Fertilize and Maintain for Long-Term Health
Apply a slow-release fertilizer when the grass is 4-6 inches tall, following package rates for your grass type. Cool-season grasses like fescue or bluegrass benefit from fall fertilization, while warm-season grasses like Bermuda thrive with spring and summer feedings. Water the lawn after applying fertilizer to help it absorb into the soil.
Aerate the lawn once a year in early fall to relieve compacted soil. Use a core aerator to pull small plugs of soil, then top-dress with compost to fill the holes. This improves airflow and nutrient uptake, keeping the roots strong. With consistent care, your lawn will develop a deep, twist-free root system that resists drought and weeds.
Tips & tricks for perfect lawn establishment
Let me save you the trial-and-error of starting a lawn from scratch—I’ve seen too many uneven patches and patchy growth from skipping these key steps.
Soil Prep is Non-Negotiable: That 2-3 inches of compost in Step 1 isn’t just about nutrients—it’s about creating the perfect seedbed. I’ve seen lawns fail because homeowners skipped this step, only to struggle with poor drainage and uneven germination. Work that compost into the top 4-6 inches of soil, not just sprinkled on top. The goal is to create a loose, crumbly texture that seeds can nestle into without resistance. Think of it like preparing a perfect bed for delicate seedlings—your grass seeds deserve the same care.
Seed Depth Makes All the Difference: Planting those seeds just ¼ inch deep in Step 2 might seem trivial, but this is where most beginners go wrong. Too deep, and germination slows dramatically; too shallow, and seeds dry out before sprouting. I’ve seen homeowners plant seeds ½ inch deep, only to wait weeks for sprouts that never came. Use your fine-toothed rake to create gentle furrows, then lightly cover the seeds—just enough to protect them from birds while keeping them accessible to moisture.
Watering Timing is Critical: Those first 10-14 days after sowing are the most delicate phase. The key isn’t just how much you water, but when. Water lightly twice daily (morning and evening) to keep the top inch of soil consistently moist. I’ve seen lawns fail because homeowners watered heavily once a day, creating a crust that blocks oxygen. Use a spray nozzle to mimic gentle rain, and always water until you see moisture reach 3-4 inches deep. A simple way to check: stick a screwdriver into the soil—if it comes out dry, water again.
Mowing Height Matters More Than You Think: When you reach Step 3 and mow at 3-4 inches, resist the urge to cut shorter for convenience. That height might seem long, but it’s essential for shade tolerance and drought resistance. I’ve seen lawns turn brown within weeks after homeowners cut too short, thinking it looked "neater." The deeper roots from taller grass mean your lawn can handle heat and dry spells like a pro. And remember: never remove more than ⅓ of the blade height at once—this prevents stress and promotes thicker growth.
Pro Tips for Soil Seed And Water
- Let me save you the trial-and-error of starting a lawn from scratch—I’ve seen too many uneven patches and patchy growth from skipping these key steps.
- Soil Prep is Non-Negotiable: That 2-3 inches of compost in Step 1 isn’t just about nutrients—it’s about creating the perfect seedbed.
- Seed Depth Makes All the Difference: Planting those seeds just ¼ inch deep in Step 2 might seem trivial, but this is where most beginners go wrong.
Frequently asked questions
Got questions about growing a lush lawn with the perfect soil, seed, and water combo? You’re not alone! Here are answers to the most common queries—so you can skip the guesswork and get straight to stunning results.
What’s the best soil type for a twist-free lawn?
A well-draining, loamy soil (equal parts sand, silt, and clay) is ideal. Test your soil’s pH (aim for 6.0–7.0) and amend with compost or organic matter if it’s too sandy or clay-heavy. Pro tip: Avoid compacted soil—it strangles roots and causes uneven growth.
How long until I see visible lawn growth?
With proper prep, you’ll spot sprouts in 5–14 days, but full coverage takes 3–6 weeks. Factors like seed type, soil temp (ideal: 50–75°F), and watering consistency speed this up. Patience pays off!
How often should I water new grass seed?
Keep soil consistently moist (like a damp sponge) for the first 2 weeks—water lightly 2x daily (morning/evening). After germination, switch to 1 inch/week (deep, infrequent watering). Overwatering = wasted seed and fungal risks.
Can I use old seed from last year?
Nope! Seeds lose viability over time—most last 1–2 years (check the package). Old seeds may sprout unevenly or not at all. Fresh seed = faster, thicker coverage.
What if my lawn turns yellow or patchy?
Yellow patches often mean overwatering, poor drainage, or nutrient deficiency. Test soil, adjust watering, and fertilize lightly (use a slow-release formula). If spots persist, reseed bare areas and check for pests or disease. Act fast—small fixes prevent big headaches!
Wrapping up and next steps
Growing a lush, twist-free lawn is all about nurturing the soil, seed, and water—the holy trinity of healthy grass! 🌱 With the right prep, patience, and care, you’ll transform your yard into a vibrant, envy-worthy space.
Start small if needed, but take that first step—whether it’s testing your soil, choosing the perfect seed, or mastering watering techniques.
Now that you’re armed with knowledge, roll up your sleeves and give your lawn the love it deserves. Ready to dive in? Grab your tools, set a schedule, and watch your yard bloom—one blade at a time!