
Lawn
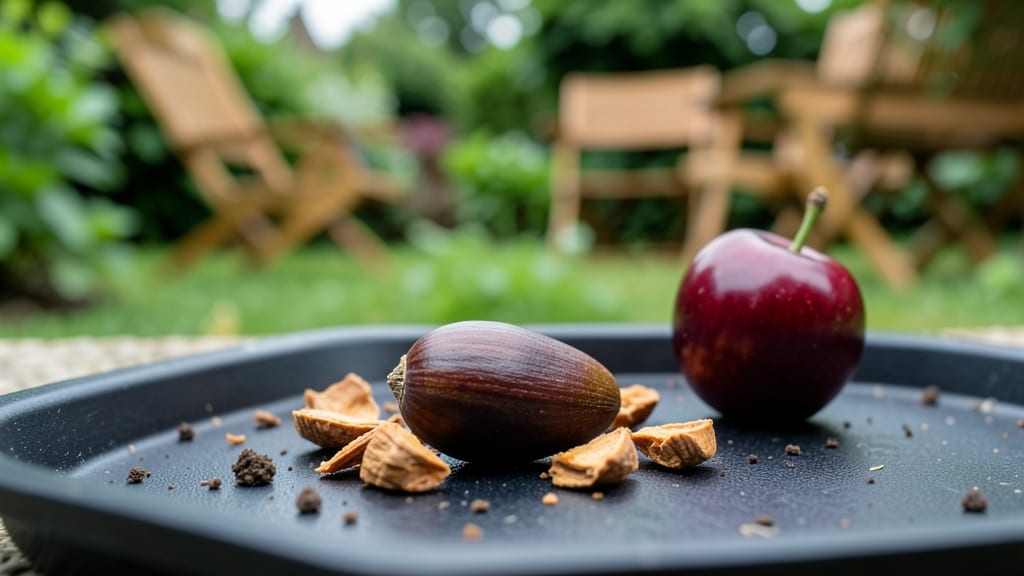
Growing a cherry tree from seed means free shade and spring blooms for decades—if you get past the tricky germination. 🌱 I’ve started dozens, and the secret isn’t just patience but knowing when to crack the seed’s dormancy.
Most store-bought seeds need a winter chill (stratification) to break open, but wild cherry seeds often sprout faster with the right moisture and warmth. The process starts with collecting seeds from ripe cherries (not the sweet ones—sour or tart cherries work best).
After cleaning and drying, you’ll either plant them fresh or store them in the fridge for 3-4 months to mimic winter. A simple mix of potting soil and perlite keeps roots happy while they sprout, and within 4-8 weeks, you’ll see tiny leaves pushing through.
What you end up with isn’t guaranteed to fruit like the parent tree—cherry seeds often grow into wild types—but the shade and spring blossoms make it worth the gamble. The trees grow fast, too, reaching 15-20 feet in just a few years with proper care.
For best results, plant in early spring after stratification, keep soil moist but not soggy, and give them full sun. Patience pays off—these trees live for centuries if given space to grow.
📚 In This Guide
- What you need
- Instructions
- Tips and common mistakes
- Wrapping up and next steps
What you need
- ● Cherry seeds: Fresh, viable seeds from a sweet cherry (Prunus avium) or sour cherry (Prunus cerasus). Aim for 5-10 seeds to increase germination chances.
- ● Small pots or seed trays: 3-4 inch diameter with drainage holes (use 1 pot per seed or a shared tray with individual cells).
- ● Well-draining potting mix: A blend of 50% peat or coconut coir, 30% perlite or vermiculite, and 20% sand for aeration.
- ● Plastic wrap or humidity dome: To maintain moisture during germination.
- ● Spray bottle: For gentle watering to avoid disturbing seeds.
- ● Refrigerator (for stratification): A zip-top bag and moist paper towels to mimic winter conditions.
- ● Grow lights or sunny windowsill: A south-facing window or LED grow lights (12-16 hours/day) for seedlings.
- ● Fertilizer: A balanced, water-soluble fertilizer (5-5-5 or 10-10-10) diluted to half-strength.
- ● Seed scarification tools: Sandpaper (100-120 grit) or a knife to nick the seed coat (speeds up germination).
- ● Heating mat: (70-75°F) to encourage faster germination.
- ● Larger nursery pots: (5-7 inches) for transplanting seedlings before outdoor planting.
- ● Mulch: (wood chips or straw) to protect young trees in the garden.
- ● Pruning shears: For shaping the tree as it grows.
Step-by-Step instructions for growing a cherry tree from seed
Here's how I turn a single cherry seed into a sturdy shade tree with spring blooms.
🌱 Step 1: Extract and Stratify the Seed
Start with fresh, plump cherry pits—never dried or cracked ones. After eating a cherry, rinse the pit thoroughly, then let it dry completely for 24 hours to prevent mold. Place the pit in a small plastic bag with damp peat moss and seal it tightly. Store the bag in your refrigerator for 6-8 weeks—this cold treatment mimics winter and breaks seed dormancy.
Check the bag weekly. The peat moss should stay consistently damp but not soggy—squeeze it gently to test. If you see condensation on the bag walls, open it slightly to let excess moisture escape. This stratification step is critical—skipping it means waiting years for germination, if it happens at all.
🌿 Step 2: Plant the Stratified Seed
After stratification, remove the pit from the bag and plant it 1 inch deep in a small pot filled with well-draining potting mix. Press the soil lightly around the pit to ensure good contact. Place the pot in a sunny window or under a grow light for 12-14 hours daily. Keep the soil surface damp but never waterlogged—overwatering at this stage causes rot before germination.
Cover the pot with clear plastic wrap to create a mini greenhouse effect, but remove it daily for 10 minutes to prevent mold. Germination can take 4-12 weeks, depending on your climate. Patience is key here—don't dig up the seed to check. Instead, wait until you see a tiny sprout emerge from the soil.
☀️ Step 3: Transplant and Provide Outdoor Conditions
Once the seedling reaches 4-6 inches tall and develops its first true leaves (not the initial seed leaves), it's ready for its first transplant. Choose a location with full sun and well-draining soil. Dig a hole twice as wide as the root ball but only as deep as the container. Gently remove the seedling and place it in the hole, filling around it with soil and pressing lightly to eliminate air pockets.
Water deeply after transplanting to help settle the soil. Mulch around the base with 2-3 inches of organic mulch to retain moisture and protect the young roots. Young cherry trees are sensitive to frost, so wait until after the last frost date in your area before moving it outdoors permanently. If you live in a colder climate, keep it in a container for its first winter.
✂️ Step 4: Prune and Care for Long-Term Growth
In the first growing season, focus on establishing a strong root system. Prune any dead or crossing branches with clean, sharp pruners, making cuts just above a leaf node. Avoid heavy pruning—cherry trees develop their structure gradually. Fertilize lightly in early spring with a balanced, slow-release fertilizer to support steady growth without burning tender roots.
Water deeply once weekly during dry spells, aiming for 1-2 inches of water per week. Mature cherry trees are drought-tolerant, but seedlings need consistent moisture. Watch for signs of stress like yellowing leaves or wilting—these indicate either overwatering or underwatering. By year three, your seedling will start developing its signature spring blooms, though fruiting may take 5-10 years depending on the variety.
Tips & tricks for growing a cherry tree from seed
Real talk: Growing a cherry tree from seed takes more patience than most people expect. Here's what I learned after watching my first batch of pits fail to germinate.
Pit Selection Matters: Not all cherry pits are created equal. Look for plump, firm pits that sink when placed in water—these are your best candidates. Avoid any pits that feel hollow when tapped or have visible cracks. I learned this the hard way after trying to grow from dried, store-bought pits that never germinated. Freshness is key, so use pits from recently eaten cherries whenever possible.
Stratification Check: During the 6-8 week stratification period in Step 1, I recommend placing a small piece of tape with the date on your bag. This helps track progress without disturbing the damp peat moss. The goal is consistent moisture—think of it like a damp sponge, not a wet washcloth. If you notice mold developing, open the bag immediately to improve airflow while maintaining that cold environment.
Germination Timing: The 4-12 week germination window in Step 2 can feel like an eternity. To track progress, I place my pots near a sunny window and mark the soil surface with a pencil before covering with plastic. When you see the first signs of a sprout breaking through, resist the urge to remove the plastic wrap immediately. Instead, gradually acclimate it to room conditions over 3-4 days by lifting the plastic for longer periods each day.
Transplanting Preparation: When your seedling reaches 4-6 inches in Step 3, harden it off before transplanting outdoors. This means moving it to a sheltered outdoor spot for 2-3 hours daily during the week before transplanting. Start with morning sun and gradually increase exposure. I've seen seedlings shocked by sudden temperature changes when transplanted too early—this gradual process prevents stress and gives your young tree the best chance to thrive.
Pro Tips for Seed Of Cherry
- Real talk: Growing a cherry tree from seed takes more patience than most people expect. Here's what I learned after w...
- Pit Selection Matters: Not all cherry pits are created equal. Look for plump, firm pits that sink when placed in wate...
- Stratification Check: During the 6-8 week stratification period in Step 1, I recommend placing a small piece of tape ...
Frequently asked questions
Got questions about growing cherry tree seeds or caring for them in your lawn? Here are some of the most common queries—and their answers—to help you get started with confidence!
Can I plant cherry tree seeds directly in my lawn, or do I need a nursery?
While you can plant cherry tree seeds directly in your lawn, they thrive better when started indoors or in a controlled nursery setting first. Seeds need warmth and moisture to germinate, and young saplings are delicate. For best results, start seeds in pots 6–12 weeks before the last frost, then transplant seedlings to your lawn once they’re sturdy.
How long does it take for cherry tree seeds to germinate and grow?
Cherry tree seeds can take anywhere from 30 to 90 days to germinate, depending on the variety and conditions. With proper warmth (around 70°F), moisture, and patience, you’ll see sprouts in about 4–8 weeks. Once germinated, young trees grow slowly—expect it to take 5–10 years before they produce fruit (if grown from seed, not grafted).
Are cherry tree seeds easy to find, or do I need to order them?
You can find cherry tree seeds from reputable nurseries, online seed sellers, or even from fresh cherries (though store-bought cherries often have treated seeds). For the best success, opt for heirloom or graft-compatible varieties sold by seed companies. Avoid wild seeds unless you’re certain they’re from a non-invasive species—some cherries can spread aggressively!
What should I do if my cherry tree seeds aren’t sprouting?
If your seeds aren’t germinating after 2–3 months, try these fixes:
- Check moisture: Keep soil consistently damp (not soggy) during germination.
- Test viability: Soak seeds in warm water for 24 hours—if they sink, they’re likely viable.
- Adjust temperature: Cherry seeds need warmth (60–75°F). Use a heat mat if needed.
- Scarify or stratify: Some seeds need a cold treatment (stratification) or light scratching to break dormancy.
Will cherry trees grown from seed produce fruit like the parent tree?
Probably not! Trees grown from seed are not guaranteed to match the parent tree’s fruit quality, size, or even variety. For reliable fruit production, opt for grafted cherry trees from nurseries. If you’re okay with a wild-type tree (for shade or aesthetics), seeds are a fun, low-cost experiment—but expect surprises!
Wrapping up and next steps
Planting a cherry tree isn’t just about adding beauty to your yard—it’s about creating a lasting legacy of shade, springtime blooms, and even wildlife support. 🌸 Whether you’re drawn to the delicate blossoms or the practical benefits of its dense canopy, the seed of cherry offers a rewarding gardening journey.
Start small, nurture your sapling, and watch it grow into a stunning centerpiece for your landscape.
Ready to take the next step? Research local cherry varieties that thrive in your climate, or visit a nursery to pick out a healthy young tree. Your future shade tree is waiting—let’s get planting! 🌱