
Lawn
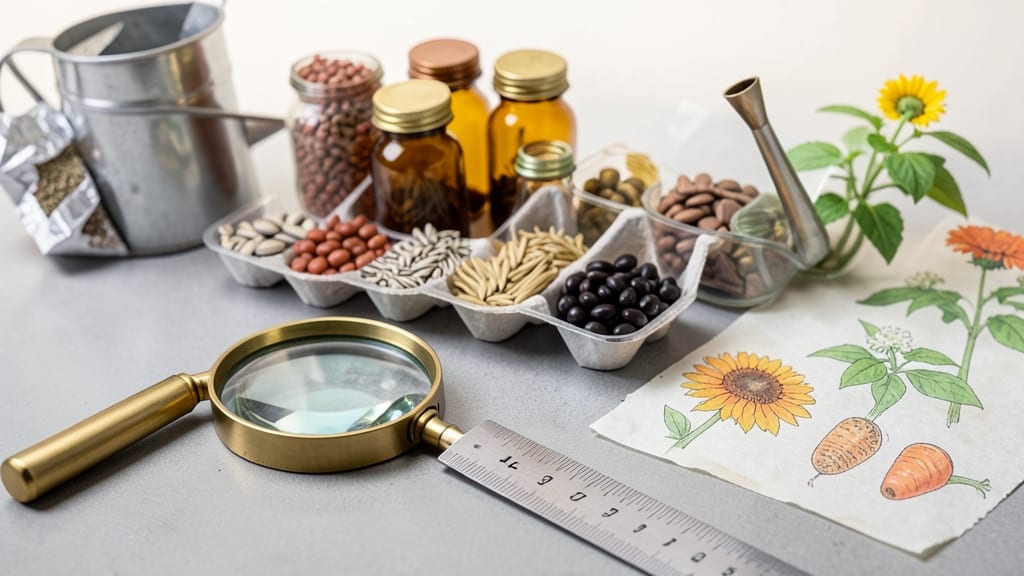
A seed identification guide means the difference between a thriving garden and a season of disappointment. 🌱 I've spent years sorting through seed packets, catalogs, and even wild harvests—here's how to tell them apart without guessing.
The key lies in just four traits: shape, size, texture, and color, plus a few simple tools that make the process foolproof. Start with a magnifying glass and a good light source—your eyes will thank you.
A seed catalog or app like "Seed Savers Exchange" becomes your best friend, showing you side-by-side comparisons of common varieties. For example, tomato seeds are plump and kidney-shaped, while basil seeds look like tiny, flat teardrops.
The wrong ID can mean planting onions where you meant leeks—or worse, accidentally sowing wild parsnip instead of carrots. Once you master these basics, you'll spot the subtle differences that matter: the ridged edges of okra seeds, the fuzzy texture of milkweed, or the glossy sheen of sunflower seeds.
Confidence grows when you can match what you see to what you plant, and soon you'll be identifying seeds faster than you can say "germination rate." This works for gardeners, foragers, and even curious kids—just add a printed cheat sheet to your gardening toolkit.
Let's turn seed sorting from a puzzle into a skill!
📚 In This Guide
- What you need
- Instructions
- Tips and common mistakes
- Wrapping up and next steps
What you need
- ● Magnifying glass (10x magnification or higher) – For examining fine details like seed texture, color, and structure.
- ● Seed identification book or app – A reliable reference like Peterson Field Guide to Edible Wild Plants or Seed ID by iNaturalist.
- ● Small tweezers or forceps – For safely handling delicate seeds without damaging them.
- ● Measuring ruler (inches/millimeters) – To record seed size accurately.
- ● Notebook or digital note-taking tool – For logging observations, locations, and comparisons.
- ● Plastic bags or seed envelopes – To store samples for later reference (10–20 bags, depending on collection size).
- ● Field guide or printed cheat sheet – A laminated or waterproof version of your seed ID guide for outdoor use.
- ● Digital camera with macro setting – Capture high-resolution images for later analysis.
- ● Portable UV flashlight – Some seeds fluoresce under UV light, revealing hidden patterns.
- ● Seed dissection kit (scalpel, petri dish) – For advanced identification of internal structures.
- ● GPS device or smartphone with mapping app – Track seed locations for future reference.
- ● Drying rack or silica gel packets – Preserve seeds for long-term storage.
How to identify seeds: a practical field guide
Mastering seed ID unlocks the secret language of plants—here's how to decode what you're holding.
🌱 Step 1: Examine Seed Shape and Size
Start by holding the seed between your thumb and forefinger. Notice its overall shape first—is it round like a pea, flat like a maple samara, or elongated like a bean? I always compare it to common objects: a sunflower seed resembles a tiny football, while a dandelion seed is more like a feather. Measure it roughly against your fingernail—most seeds fall into three size categories: tiny (1/8 inch), small (1/4 inch), or large (1/2 inch or bigger).
Pay attention to surface texture next. Run your fingertip across the seed—is it smooth like a cherry pit, ridged like a tomato seed, or covered in fuzzy hairs like a milkweed seed? These textures often indicate the plant family. I keep a small magnifying glass in my gardening vest because many distinguishing features are invisible to the naked eye, especially in tiny seeds.
🌿 Step 2: Check for Distinctive Markings
Look for any visible patterns or attachments. Some seeds have obvious wings (like maple), while others have tiny hooks (like cocklebur). I always check the hilum—the scar where the seed attached to the plant—because its shape can be a dead giveaway. A crescent-shaped hilum often means it's a legume, while a dot-like hilum suggests a member of the nightshade family.
Examine the seed's edges carefully. Some have distinct ridges or notches. For example, apple seeds have a characteristic "wing" shape when viewed from the side, while walnut seeds have deep grooves. If the seed is still attached to plant debris, note the color and texture of any remaining parts—this can provide crucial clues about the parent plant.
💧 Step 3: Test Seed Floatation and Density
Fill a clear glass with water and gently place the seed inside. Observe whether it sinks or floats—this reveals important information about its viability and storage characteristics. Most viable seeds will sink initially, though some (like certain pine seeds) naturally float. I've found that seeds that float immediately are often non-viable or have poor storage potential.
After 15 minutes, check again. If the seed remains at the surface, it's likely empty or damaged. If it sinks to the bottom, it's probably viable. This simple test saves me from wasting time trying to grow seeds that would never sprout. For seeds that sink, I'll often press them between my fingers to feel their internal density—soft seeds usually indicate poor viability, while firm seeds are worth testing further.
☀️ Step 4: Compare with Reference Materials
Use a reliable seed identification guide or app to compare your findings. I keep a laminated quick-reference card in my pocket with common seed shapes and their likely plants. For example, a triangular seed with three ridges is probably a peach pit, while a flat, winged seed is likely from a maple tree. Digital tools can be helpful too—many seed ID apps allow you to upload photos for comparison.
Note the location where you found the seed. Many seeds have distinct regional distributions. For instance, you're unlikely to find a coconut seed in the Midwest unless it was deliberately planted. I always jot down the habitat type (forest floor, garden bed, meadow) because this narrows down possibilities significantly. Cross-reference your observations with local flora guides for the most accurate matches.
⏰ Step 5: Perform the Germination Test
To confirm your identification, conduct a simple germination test. Place the seed between two damp paper towels in a sealed plastic bag. Keep it in a warm location (around 70-75°F) and check daily. Most seeds will either sprout within 3-14 days or remain dormant. The timing and appearance of the sprout can confirm your ID—fast germination with a hook-shaped radicle suggests a legume, while slow germination with a straight shoot might indicate a grass family seed.
If the seed doesn't sprout after 2 weeks, it's likely non-viable or from a plant that requires specific germination triggers (like cold stratification or fire exposure). This test gives you definitive answers about both the seed's identity and its potential for growing. I've identified many mystery seeds this way, including several unexpected wild edibles in my foraging adventures.
Tips & tricks for mastering seed identification
These practical insights will help you refine your seed-sleuthing skills and avoid common pitfalls in the field.
Visual Comparison Tools: Carry a small ruler or caliper in your field kit to measure seeds more accurately than using your fingernail. I keep a foldable metal ruler in my vest—it's more precise and lasts through years of outdoor use. For texture, a pocket magnifier (3x magnification) reveals details like tiny seed hairs or micro-ridges that distinguish similar species.
Hilum Shape Secrets: The hilum (seed scar) is often the most telling feature, but it's easy to overlook. Practice identifying hilum shapes by collecting known seeds first—compare a bean's crescent hilum with a tomato's dot-like hilum. I made a hilum reference card with common shapes and their likely plants, which I keep taped to my field notebook. This simple tool has helped me ID seeds I'd previously dismissed as "too similar."
Float Test Precision: When testing seed viability with the 15-minute float test, use room-temperature water—not cold tap water. Cold water can cause some seeds to sink temporarily due to temperature shock rather than actual density. I also recommend using distilled water if possible, as minerals in tap water can affect buoyancy. For seeds that float but you suspect might be viable, try gently pressing them into the water—they might sink when forced below the surface.
Germination Environment: The 70-75°F germination range works well for most common seeds, but some species need specific conditions. If your seed doesn't sprout within 14 days, try cold stratification (placing seeds in the fridge for 2-4 weeks before testing) or heat treatment (soaking in warm water for 24 hours). I've successfully germinated several "non-viable" seeds using these alternative methods, including some wild edibles that require special triggers to break dormancy.
Pro Tips for Seed Identification Guide
- These practical insights will help you refine your seed-sleuthing skills and avoid common pitfalls in the field.
- Visual Comparison Tools: Carry a small ruler or caliper in your field kit to measure seeds more accurately than using your fingernail.
- Hilum Shape Secrets: The hilum (seed scar) is often the most telling feature, but it's easy to overlook.
Frequently asked questions
Got questions about identifying seeds? You’re not alone—here’s a quick breakdown of the most common concerns to help you navigate your seed-sorting journey with confidence!
How do I tell if a seed is viable (still good to plant)?
Test viability with the float test: Drop seeds in water—if they sink, they’re likely good! For small seeds, try the paper towel method: Moisten a towel, wrap seeds inside, seal in a bag, and check for sprouts in 1–2 weeks. Cold stratification (chilling damp seeds) can also wake up dormant seeds!
How long do seeds stay viable before they go bad?
Viability varies wildly! Vegetable seeds often last 1–5 years; flower seeds may survive 2–4 years. Store them in a cool, dark, dry place (like a sealed jar in the fridge) to extend shelf life. Wildflower seeds? Some last decades—just check the packet or test a few!
What if I can’t identify a seed—what’s my next move?
Start with a seed identification guide (like this one!) or use apps like Seed and Plant ID. Compare shapes, colors, and textures to common seeds. Still stuck? Post photos in gardening forums—experts love helping! For wild seeds, consider consulting a local botanist or university extension office.
Can I save seeds from store-bought veggies/fruits?
Yes, but with caveats! Seeds from hybrid varieties (e.g., most supermarket tomatoes) may not grow true. Stick to heirloom or open-pollinated produce. Let fruits fully ripen, scoop seeds, rinse, dry, and store in a cool spot. Pro tip: Label everything—seed traits change over time!
Are there seeds I should never plant or forage?
Avoid invasive species (e.g., kudzu, milo) or toxic plants like deadly nightshade or castor beans. When foraging, double-check with a field guide or expert before consuming. When in doubt, don’t eat it—some seeds look edible but aren’t!
| Quick Reference: |
|---|
| Viability Test: Float test for large seeds; paper towel for tiny ones. |
| Storage: Airtight containers + fridge = longer life. |
| Foraging Warning: Never eat unidentified seeds—research first! |
Wrapping up and next steps
Mastering seed identification opens the door to a world of thriving gardens, sustainable foraging, and deeper appreciation for nature’s bounty. 🌱 Whether you’re a seasoned gardener or just starting, this visual cheat sheet gives you the confidence to recognize seeds with ease—and turn knowledge into action.
Ready to put your skills to the test? Grab your magnifying glass, head outdoors, and start exploring! The next step? Try growing a few identified seeds in your garden and watch your green thumb flourish!