
Propagation
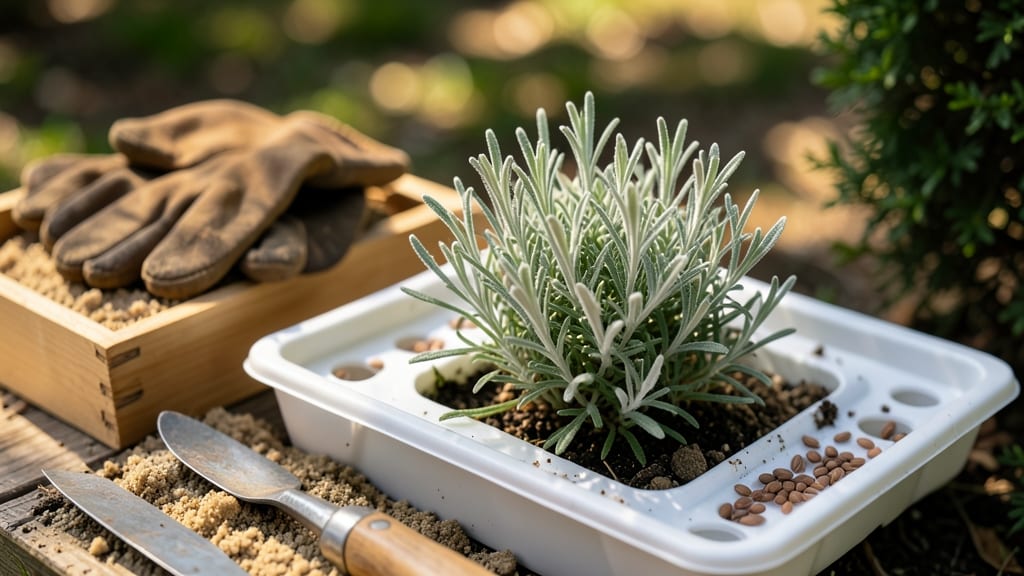
Growing lavender from seed outdoors starts with a cold stratification trick that mimics winter’s natural process—no fancy equipment needed. 🌱 I’ve struggled with lavender seeds before, but this method finally gave me those signature purple spikes every gardener dreams of.
The secret lies in replicating the chilly months lavender seeds experience in their Mediterranean homeland, right in your own freezer or fridge.
You’ll need just three simple supplies: a plastic bag, a handful of seeds, and a damp paper towel to create that perfect moist-but-not-soggy environment. Plant them in well-draining soil after stratification, and place your pots where they’ll get full sun (at least 6-8 hours daily).
Lavender hates soggy roots, so we’re talking sandy, gritty soil—think coastal garden vibes, not dense clay.
By spring, you’ll see those first tiny, fuzzy seedlings poking through, and within a year, you could be harvesting fragrant stems for sachets or cooking. The key is patience—lavender grows slowly but rewards you with drought-resistant plants that thrive for years. Even my black thumb can’t kill these once established!
This method works best in zones 5-9, but with a little frost protection (like mulch or row covers), you can grow lavender almost anywhere. The cold stratification trick isn’t just reliable—it’s the difference between a failed experiment and a permanent, fragrant addition to your garden.
Let’s get those seeds started!
📚 In This Guide
- What you need
- Instructions
- Tips and common mistakes
- Wrapping up and next steps
What you need
- ● Lavender seeds: Choose English lavender (Lavandula angustifolia), French lavender (L. dentata), or Spanish lavender (L. stoechas). Buy 1–2 packets (500–1,000 seeds total) for a small garden or 3+ packets for larger plantings.
- ● Cold stratification setup: Small plastic bag or breathable paper towel
- ● Moistened peat moss or coconut coir (or a damp paper towel)
- ● Refrigerator (set to 35–45°F (2–7°C))
- ● Seed-starting containers: Cell packs or seed trays (50+ cells, 2–3 inches deep)
- ● OR small pots (3–4 inches in diameter)
- ● Seed-starting mix: 1–2 bags (1–2 cubic feet) of lightweight, well-draining mix (e.g., 50% peat/coco coir + 50% perlite/pumice).
- ● Grow lights or sunny windowsill: 12–16 hours/day of 5,000–6,500 lux brightness (LED grow lights work great!).
- ● Misting bottle or spray nozzle (for gentle watering).
- ○ Heat mat (optional but helpful): 70–75°F (21–24°C) to speed up germination.
- ● Transplanting tools: Small hand trowel or spoon
- ● Biodegradable pots or peat pellets (for easy transplanting)
- ● Outdoor hardening-off space: Partial shade (e.g., patio, garage, or under a tree).
- ● Well-draining garden soil: Amend with sand or gravel if your soil is heavy clay.
- ● Seedling heat mat (to maintain consistent warmth).
- ● Humidity dome or plastic wrap (to retain moisture during germination).
- ● pH test kit (ideal soil pH: 6.0–7.5).
- ● Slow-release fertilizer (low nitrogen, e.g., 5-10-10 ratio).
- ● Mulch (gravel or pebbles) (to prevent soil compaction around mature plants).
- ● Pruning shears (for shaping and encouraging bushiness).
Step-by-step instructions for growing lavender from seed outdoors
Here's the foolproof method I use to break lavender's tough seed coat and coax reliable germination.
🌱 Step 1: Collect or Purchase Fresh Lavender Seeds
Lavender seeds lose viability quickly, so use seeds harvested the same year or purchased from a reputable supplier. I recommend collecting seeds from mature lavender flowers in late summer when the seed heads turn brown and papery. Hold the seed head over a sheet of paper and gently rub to release the tiny, dark seeds.
Store collected seeds in a cool, dry place until ready to stratify. Never use seeds older than one year—they'll have drastically lower germination rates. If you're purchasing seeds, check the package date and choose the most recent harvest available. Fresh seeds are your best bet for breaking through lavender's naturally tough seed coat.
❄️ Step 2: Perform Cold Stratification for 30-60 Days
Lavender seeds require cold stratification to mimic winter conditions and trigger germination. Place seeds in a resealable plastic bag with a damp paper towel—just enough moisture to keep the towel damp, not dripping. Seal the bag and refrigerate for 30-60 days at 35-40°F. I like to label the bag with the date to track progress.
Check the seeds every 7-10 days to ensure the paper towel remains moist but not soggy. If you notice mold development, discard the seeds and start fresh with a new batch. This cold treatment breaks the seed's natural dormancy, which is essential for lavender germination. Patience here pays off—don't rush this step, even if you're eager to see growth.
🪴 Step 3: Prepare Containers and Planting Mix
Use lightweight, well-draining planting mix designed for Mediterranean herbs or cacti/succulents. Fill small pots or seed trays with the mix, leaving about ½ inch of space at the top. I prefer 4-inch pots for individual seedlings since lavender dislikes root disturbance. Moisten the mix until it's evenly damp but not saturated.
Create shallow furrows about ¼ inch deep using a small stick or your finger. Space the furrows 2 inches apart to accommodate the tiny seeds. Gently place 2-3 seeds in each furrow—lavender seeds are small and easy to misplace. Cover lightly with a sprinkle of additional planting mix, just enough to barely conceal the seeds.
☀️ Step 4: Provide Warmth and Indirect Light
After sowing, place the containers in a warm location with indirect light—a bright windowsill with filtered sunlight works well. Maintain soil temperature at 65-70°F using a seedling heat mat if needed. Lavender seeds typically germinate in 2-4 weeks, though some may take longer. Be patient and avoid disturbing the soil during this period.
Keep the planting mix consistently moist but never soggy. I use a spray bottle to water gently, ensuring the soil surface stays damp rather than wet. Once seedlings emerge, move them to a location with bright, indirect light for another 2-3 weeks before introducing them to direct sunlight. This gradual transition prevents shock and encourages strong, healthy growth.
🌿 Step 5: Transplant Seedlings to Outdoor Garden
Wait until all risk of frost has passed and soil temperatures consistently reach 60°F before transplanting. Choose a sunny location with well-draining soil and full sun exposure—lavender thrives in these conditions. Dig small holes slightly larger than the seedling's root ball and space plants 12-18 inches apart to allow for growth.
Gently remove seedlings from their containers, being careful not to disturb the roots. Place each seedling in its hole, firm the soil around the base, and water deeply to settle the roots. Mulch lightly with gravel or coarse sand to improve drainage and prevent soil compaction. Lavender is drought-tolerant once established, so avoid overwatering—this is a common mistake that leads to root rot.
Tips & tricks for perfect lavender growth from seed
Lavender's notoriously tricky germination can be mastered with these insider tricks that turn patience into predictable blooms.
Seed Freshness is Non-Negotiable: I've learned the hard way—seeds older than one year from harvest lose over 80% of their viability. When collecting your own, harvest seed heads in late summer when they're fully brown and papery. Store them in a sealed envelope with a silica gel packet (or between paper towels) in the fridge until stratification. This preserves their delicate dormancy-breaking potential for up to 6 months after harvest.
Stratification Temperature Matters: While the instructions specify 35-40°F, I've found that maintaining a consistent 38°F in your fridge's crisper drawer creates the most reliable results. Place a small thermometer in the bag during stratification to monitor—any warmer than 40°F and germination rates drop significantly. The goal is to mimic winter's gradual temperature shifts, not a sudden freeze.
Lightweight Mix is Critical: Don't skimp on the planting mix—lavender roots need aeration to prevent rot. I blend equal parts cactus/succulent mix with perlite and coarse sand (50/25/25 ratio) for optimal drainage. The mix should feel almost dry when squeezed, like a damp sponge. This prevents the classic rookie mistake of waterlogged soil that drowns delicate seedlings.
Transplanting Timing Secret: Wait until soil temperatures hit 60°F consistently before moving seedlings outdoors, but don't wait too long—lavender seedlings establish best when planted within 2 weeks of reaching this temperature. I test by placing a thermometer in the garden soil at midday for 3 consecutive days. This window between frost risk and summer heat is lavender's sweet spot for root establishment.
Pro Tips for Growing Lavender From Seed Outdoors
- Lavender's notoriously tricky germination can be mastered with these insider tricks that turn patience into predictab...
- Seed Freshness is Non-Negotiable: I've learned the hard way—seeds older than one year from harvest lose over 80% of t...
- Stratification Temperature Matters: While the instructions specify 35-40°F, I've found that maintaining a consistent ...
Frequently asked questions
Got questions about growing lavender from seed outdoors? You're not alone—this method takes patience and know-how! Here are answers to the most common queries to help you succeed.
How long does it take for lavender seeds to germinate?
With proper cold stratification (4–6 weeks in the fridge), lavender seeds typically germinate in 2–6 weeks after planting outdoors. Be patient—some varieties may take longer, especially in cooler climates. Keep soil consistently moist but not soggy during this time.
Can I skip cold stratification and still grow lavender?
While possible, skipping stratification reduces germination rates drastically—often below 20%. Without it, seeds may stay dormant for months or never sprout. If you’re short on time, try scarification (lightly nicking seeds) or buy pre-stratified seeds for better odds.
What’s the best time to plant lavender seeds outdoors?
Plant seeds 8–12 weeks before your first frost (late summer/early fall in most zones) to allow natural stratification. Alternatively, sow in early spring (after last frost) if you’ve pre-stratified seeds. Avoid planting in extreme heat, as seeds dry out quickly.
Why aren’t my lavender seedlings thriving?
Common issues include:
- Overcrowding: Thin seedlings to 6–12 inches apart to prevent competition.
- Too much moisture: Lavender hates soggy roots—ensure well-draining soil.
- Poor sunlight: Seedlings need 6+ hours of direct sun daily.
- Fungal issues: Space plants for airflow and avoid overhead watering.
Will lavender grown from seed bloom the first year?
Unlikely! Most lavender grown from seed takes 1–2 years to produce flowers. Focus on establishing strong roots first. For faster blooms, consider transplanting mature nursery plants (they flower within weeks). Patience pays off—your first blooms will be worth the wait!
Wrapping up and next steps
Growing lavender from seed outdoors is a rewarding journey that combines patience with the joy of nurturing fragrant blooms. With the right cold stratification technique and a little care, you’ll soon enjoy the soothing scent and beauty of your homegrown lavender. 🌱
Now that you’re equipped with the knowledge, why not start your seeds today? Whether you’re a seasoned gardener or a beginner, this process is worth the effort—imagine the satisfaction of watching those delicate purple spikes thrive in your garden! Happy planting! 🌸