
Lawn
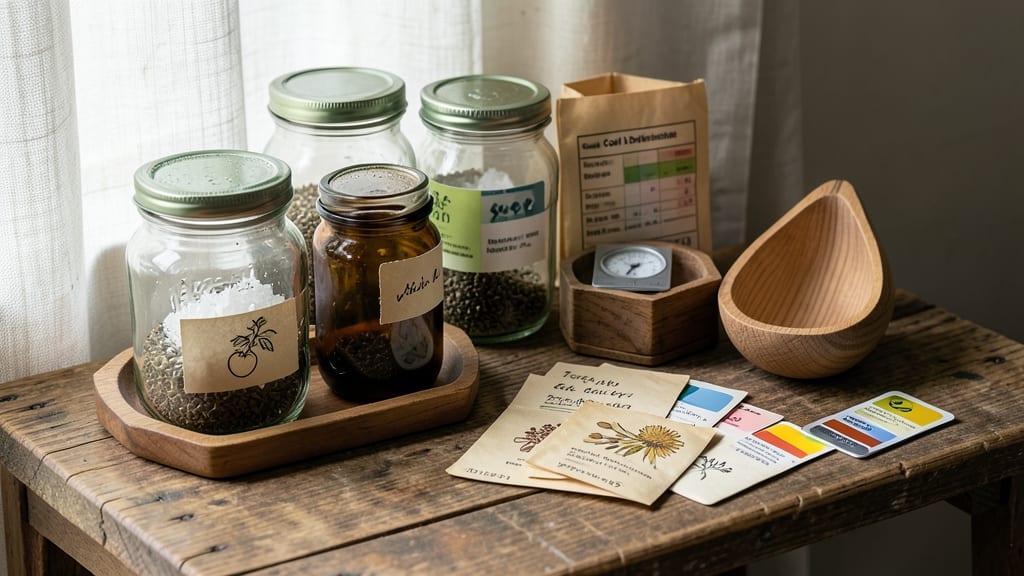
The right garden seed storage means next year’s harvest starts today. ✨ The proper conditions—cool temps, low humidity, and airtight containers—keep seeds viable for years, but most people overlook the small details that make the difference between fresh sprouts and dusty failures.
You’ll need moisture absorbers, labeled envelopes or jars, and a dark, cool spot—like a basement or fridge. The goal is to mimic the dry, dormant state seeds naturally enter after harvest. Even a slight drop in humidity can extend viability from 1 year to 5 or more.
Properly stored seeds stay ready to plant until their germination rate drops below 80%. That means fewer replanting headaches and more confidence when you pull them out next spring. The effort pays off in reliable starts and heirloom varieties you can’t buy at stores.
Common mistakes like storing seeds in the fridge without moisture control or using plastic bags that trap humidity are easy to avoid once you know the science. Let’s keep those seeds fresh for planting seasons to come.
📚 In This Guide
- What you need
- Instructions
- Tips and common mistakes
- Wrapping up and next steps
What you need
- ● Air-tight containers: Glass jars (with rubber seals), Mylar bags (with oxygen absorbers), or vacuum-sealed bags—enough to hold all your seeds (e.g., 1–2 jars per seed variety if storing in bulk).
- ● Desiccant packs: Silica gel packets (2–4 per container) to absorb moisture—critical for humidity control!
- ● Oxygen absorbers: 1–2 per Mylar bag (if using) to prevent oxidation and extend shelf life.
- ● Permanent markers or labels: Waterproof and smudge-proof to label seeds by variety, date, and germination rate.
- ● Fine-mesh bags or envelopes: For smaller seed quantities (e.g., heirloom varieties) to prevent clumping.
- ● Cool, dark storage space: A pantry, basement, or refrigerator (ideal temp: 32–41°F; avoid freezers!).
- ● Seed catalog or inventory sheet: To track germination rates and rotation schedules.
- ● Humidity monitor: A small digital hygrometer (30–50% humidity is ideal) to check storage conditions.
- ● Vacuum sealer: For long-term storage of bulk seeds (e.g., corn, beans).
- ● Seed viability test kit: To check germination rates before planting.
- ● Portable seed cooler: For climates with high humidity or summer heat.
Step-by-step instructions for storing garden seeds properly
Here's how to keep your seeds viable for years—no fancy equipment needed.
🪴 Step 1: Clean and Dry Seeds Thoroughly
Start by removing any debris or damaged seeds from your harvest. I like to spread them on a clean, dry towel and gently shake out the chaff. For seeds still attached to plants (like peas or beans), let them fully dry on the plant until they rattle inside their pods—that’s your cue they’re ready.
Once separated, lay the seeds in a single layer on a paper towel or screen in a warm, dry spot. You’ll know they’re fully dry when they feel light and brittle between your fingers. This step is critical—even slight moisture speeds up seed decay. For extra insurance, I pop them in the oven at 140°F for 2-3 hours to kill any hidden mold spores.
💧 Step 2: Choose the Right Storage Containers
Use airtight containers like glass jars with tight-fitting lids, plastic containers with gaskets, or even vacuum-sealed bags. Mylar bags with oxygen absorbers work too, but they’re overkill for most home gardeners. The key is eliminating all air and moisture—so no cardboard boxes or paper bags.
I label each container with the seed variety and harvest date using a permanent marker. This prevents mix-ups and helps track seed age. Store containers in a cool, dark place—like a basement or pantry—where temperatures stay between 32-41°F and humidity hovers around 10-15%. A dehumidifier nearby helps maintain those levels.
☀️ Step 3: Monitor and Refresh Storage Conditions
Check your seeds every 6-12 months for signs of moisture or pests. If you notice condensation inside the container or a musty smell, your storage environment needs adjustment. I keep a small silica gel packet in each jar to absorb any stray moisture—just replace it whenever it turns from blue to pink.
For long-term storage, test a few seeds annually by planting them. If germination rates drop below 80%, it’s time to refresh your seed supply. This simple check saves you from planting old seeds that might not sprout. Most seeds last 2-5 years under ideal conditions, but some (like onions or leeks) only stay viable for 1 year—always research your specific varieties.
⏰ Step 4: Handle Special Cases Like Bulbs and Tubers
Seeds from bulbs (like garlic or shallots) and tubers (like potatoes) need different care. Store these in mesh bags or paper sacks in a cool, dark place with good airflow—no airtight containers. Check them monthly for sprouting or rot. If you see green shoots, replant them immediately or they’ll waste their energy.
Herb seeds (like basil or cilantro) often lose viability quickly, so store them in the fridge rather than a pantry. I keep them in small, labeled plastic bags with a desiccant packet. For maximum freshness, harvest herbs just before flowering and dry them thoroughly—this preserves their germination potential for 1-2 years instead of the usual 6 months.
Tips & tricks for perfect garden seed storage
Took me years to figure out these little details that make all the difference between seeds that last and seeds that disappoint.
Drying is Non-Negotiable: That oven step at 140°F for 2-3 hours isn't just optional—it's your secret weapon against mold. I learned this the hard way after losing a batch of heirloom tomatoes to hidden spores. Use a thermometer to confirm your oven stays steady, and don't skip this even if seeds look dry. The extra 30 minutes kills anything lurking.
Container Material Matters: Glass jars might look pretty, but plastic containers with gaskets actually seal better against humidity. I've found that even "airtight" glass lids can develop tiny cracks over time. For long-term storage, consider adding a small packet of silica gel—just monitor it like you would your seeds, replacing it when it turns color.
Labeling System: Don't just write the variety—include the harvest year. I've had to replant seeds I thought were from last year only to realize they were from 2021! Use a permanent marker on the lid (not the side) so you can see the label without opening the container. For bulk seeds, consider color-coding by family—brassicas in blue, nightshades in red, etc.
Special Cases Need Special Care: Those herb seeds you're storing in the fridge? They'll last longer if you first dry them completely at room temperature for 24 hours before refrigeration. For bulbs and tubers, remember the airflow rule—no airtight containers! I've seen garlic cloves rot in sealed jars because they couldn't breathe.
Pro Tips for Garden Seed Storage
- Took me years to figure out these little details that make all the difference between seeds that last and seeds that ...
- Drying is Non-Negotiable: That oven step at 140°F for 2-3 hours isn't just optional—it's your secret weapon against m...
- Container Material Matters: Glass jars might look pretty, but plastic containers with gaskets actually seal better ag...
Frequently asked questions
Got questions about keeping your garden seeds fresh for planting season? You’re not alone! Here are some of the most common concerns—and straightforward answers—to help you store seeds like a pro.
How long can seeds stay viable in storage?
Most vegetable and flower seeds last 1–5 years in ideal conditions (cool, dry, and dark). Tomatoes, onions, and leeks typically last 1–2 years, while beans, peas, and corn can remain viable for 3–5 years. Always check seed packets for expiration dates—when in doubt, test a few seeds for germination!
What’s the best temperature for seed storage?
Aim for 32–41°F (0–5°C)—your fridge’s crisper drawer or a cool basement works well. Avoid freezers (below 32°F/0°C can damage seeds) or attics (heat and humidity speed up deterioration). Pro tip: Use a hygrometer to monitor humidity—keep it below 40% for maximum longevity.
Can I reuse seed packets for storage?
Yes, but with caution! Clean packets thoroughly to remove old seeds, then label them clearly with the seed type and date. For extra protection, place packets inside airtight containers (like mason jars or vacuum-sealed bags) with a moisture absorber (e.g., silica gel packets). Avoid plastic bags alone—they trap humidity!
What if my seeds lose viability? Can I still use them?
Test them first! The paper towel germination test is quick: Moisten a paper towel, sandwich seeds between two, and check for sprouts in 3–10 days. If 50%+ germinate, they’re still good to plant. If not, try soaking seeds overnight in water before planting—sometimes it jumpstarts dormant seeds.
Are there alternatives to traditional seed storage methods?
For small batches, try:
- Egg cartons (label each compartment for easy organization).
- Glass jars with tight-sealing lids (add a damp paper towel inside to maintain humidity balance).
- Ziploc bags with rice or silica gel (remove excess air before sealing).
Wrapping up and next steps
Proper garden seed storage is your secret weapon for a thriving garden next season! By controlling humidity, temperature, and light, you’ll preserve viability and save money—no more last-minute store runs. Start small with a few heirloom packets, then expand as you master the art.
Ready to take action? Audit your seed stash today—organize, label, and store them right. Your future harvest (and wallet) will thank you! 🌱✨