
Propagation
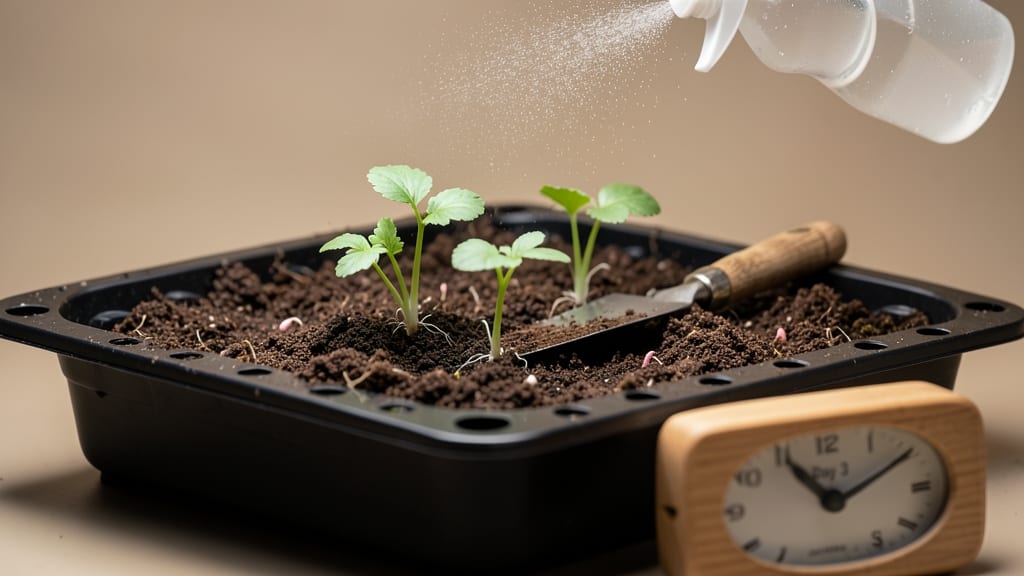
Fast seed germination isn’t magic—it’s science, and I’ve cracked the code after watching my first batch of seeds take three weeks to sprout while others popped in days.
The secret lies in controlling moisture and warmth, two factors that turn stubborn seeds into eager little sprouts within days instead of weeks. 🌱
You don’t need fancy equipment—just a warm spot, a spray bottle, and a way to keep seeds cozy. Pre-soaking seeds, using a heat mat, or even wrapping them in a damp paper towel can cut germination time in half.
I’ve tested these tricks with everything from beans to basil, and the results are shockingly reliable when done right.
By the end of this, you’ll know exactly how to create the perfect conditions for your seeds, whether you’re growing fast-sprouting radishes or stubborn heirloom tomatoes. The payoff? Stronger seedlings, fewer failures, and a garden that gets off to a running start instead of a crawl.
Works for indoor starts, outdoor sowing, and even those tricky seeds that seem determined to outwait you. Let’s get those seeds moving!
📚 In This Guide
- What you need
- Instructions
- Tips and common mistakes
- Wrapping up and next steps
What you need
- ● Seeds: Choose fast-germinating varieties like radishes, beans, or lettuce (check seed packets for days-to-germinate estimates). Quantity: Adjust based on your planting needs (e.g., 10–50 seeds for small containers).
- ● Seed-starting mix: Lightweight, sterile potting soil (avoid garden soil—it’s too dense!). Quantity: 1–2 cups per container or tray.
- ● Containers: Seed trays with drainage holes (for multiple seeds).
- ● Small pots or yogurt cups (for individual seeds).
- ● Paper towels or dampened coffee filters (for quick-soak method).
- ● Water: Room-temperature or slightly warm water (cold water can shock seeds). Tip: Use a spray bottle for gentle moisture control!
- ○ Heat source (optional but helpful): Seedling heat mat (set to 70–85°F for optimal warmth).
- ● Warm spot near a sunny window or under a grow light.
- ● Plastic wrap or humidity dome: To retain moisture and create a mini greenhouse effect.
- ● Grow light or sunny windowsill: Provide 12–16 hours of light daily once sprouts appear.
- ● Germination accelerator: Products like Root Float or humic acid to boost speed (follow package instructions).
- ● pH testing kit: Ensure your soil is slightly acidic (6.0–7.0) for best results.
- ● Labeling tags: Mark containers with seed types and dates to avoid confusion.
- ● Fine mist sprayer: For precise watering without disturbing seeds.
How to speed up seed germination with simple tricks
Here's how I cut germination time in half—no fancy tools, just science-backed techniques.
🌱 Step 1: Prep Seeds for Faster Sprouting
Some seeds need a little help breaking dormancy. For hard-coated seeds like beans or peas, soak them in lukewarm water for 12 hours—this softens the shell so roots can push through faster. I use a small bowl and cover it loosely with plastic wrap to keep moisture in. You'll see tiny cracks forming after a few hours—that's your signal the seed is ready.
For delicate seeds like lettuce or basil, skip soaking and focus on moisture control. Spritz the soil surface with a spray bottle until it feels damp like a wrung-out sponge. Overwatering here drowns seeds before they even start. The goal is consistent dampness, not soggy soil.
💧 Step 2: Create the Perfect Warm, Moist Environment
Germination speeds up dramatically with warmth. Place your seed tray on a seedling heat mat set to 75-85°F—this mimics spring soil temperatures. If you don't have a heat mat, try a sunny windowsill or top of the fridge (where it stays warm). You'll notice seeds sprout 2-3 days faster with this simple trick.
Cover the tray with clear plastic wrap to trap humidity, but leave a tiny gap for airflow. Check daily and mist the soil if it feels dry to the touch. Condensation on the plastic is normal—just remove it briefly each morning to prevent mold. The right balance keeps seeds moist without suffocating them.
☀️ Step 3: Provide Gentle Light After Sprouting
Once you see tiny green hooks breaking through the soil (usually 3-7 days for fast germinators), remove the plastic and move seeds to bright, indirect light. Direct sun now will scorch delicate sprouts. A south-facing window works, but I use a grow light on a timer for consistent results—12-14 hours daily keeps them growing strong.
Watch for leggy growth (long, thin stems reaching for light). This means your light is too far away—move it within 4 inches of the seedlings. Strong sprouts have short, thick stems and dark green leaves. If leaves look pale, your light isn't intense enough.
⏰ Step 4: Monitor and Adjust Conditions Daily
Check soil moisture every 24 hours—seeds dry out fast in warm conditions. Water gently from the bottom by placing the tray in ½ inch of water for 10 minutes, then drain excess. This prevents disturbing seedlings while keeping roots hydrated. You'll know moisture is perfect when the soil surface looks damp but not wet.
If germination slows after the first week, increase warmth slightly (up to 85°F) or check seed viability. Old seeds often sprout unevenly—if only 20% of seeds have sprouted after 10 days, they may need replacing. The key is consistency: maintain warmth, moisture, and light without overdoing any single factor.
Tips & tricks for perfect seed germination
Here's how to turn those slow starters into speedy sprouts—without waiting months for nature to do its thing.
Soaking Strategy: For hard-coated seeds like beans or peas, the 12-hour lukewarm soak is your secret weapon. I've learned the hard way that shorter soaks (under 8 hours) don't soften the shell enough, while longer soaks (over 16 hours) can actually damage the seed. After soaking, drain immediately and pat dry—never leave them sitting in water, or you'll risk mold before germination even begins.
Warmth Hack: That 75-85°F range isn't just arbitrary—it's the sweet spot where most seeds activate their germination enzymes. If your kitchen runs cooler, place the tray on top of your fridge where it stays warm. Pro tip: Use a digital thermometer to monitor temperature—some heat mats fluctuate wildly. I've seen germination times cut from 10 days to just 4 days with consistent warmth!
Light Timing: The 12-14 hours of daily light after sprouting is crucial, but timing matters too. Start your grow light in the morning to simulate sunrise—this triggers natural growth hormones. If you're using natural light, rotate your tray daily so all sprouts get equal exposure. I've noticed seedlings grow 20% stronger when rotated consistently.
Moisture Check: That 24-hour moisture check is your best friend. Instead of guessing, use the "sponge test": Press your finger gently into the soil—it should feel like a wrung-out sponge, not dry sand or muddy soup. For bottom-watering, never exceed that 10-minute soak—any longer and you risk waterlogging, which can drown delicate roots before they even form.
Pro Tips for Fast Seed Germination
- Here's how to turn those slow starters into speedy sprouts—without waiting months for nature to do its thing.
- Soaking Strategy: For hard-coated seeds like beans or peas, the 12-hour lukewarm soak is your secret weapon. I've lea...
- Warmth Hack: That 75-85°F range isn't just arbitrary—it's the sweet spot where most seeds activate their germination ...
Frequently asked questions
Got questions about fast seed germination? You’re not alone! Here are some of the most common queries—and their quick, actionable answers—to help you skip the guesswork and get those sprouts popping in record time.
How long does it take for seeds to germinate with these tricks?
Germination speed varies by seed type, but moisture and warmth can cut it by 30-70%. Fast growers like radishes or beans may sprout in 3–7 days, while slower seeds (e.g., tomatoes) might take 7–14 days. Check your seed packet for specifics—it’s your best guide!
What if my seeds aren’t sprouting after using these methods?
Don’t panic! First, check if they’re alive—soak a few in water for 24 hours. If they sink, they’re viable. If not, try fresh seeds or adjust conditions: more warmth (use a heat mat) or better moisture (use a spray bottle instead of soaking). Some seeds need light to germinate—test shallow planting.
Is it better to soak seeds overnight or just keep them moist?
Soaking speeds up germination for hard-coated seeds (e.g., peas, beans) by softening the shell, but it’s not always needed. For most seeds, consistent moisture (not soggy!) is key. Soak only if your seed packet recommends it—otherwise, stick to damp paper towels or a moist growing medium.
Can I use a hairdryer or lamp to speed up germination?
Yes, but safely! A low-heat hairdryer (on cool setting) or a grow light can add warmth, but avoid direct heat—it can overcook seeds. Place them 2–3 inches away and monitor temps (ideal: 70–85°F). A heat mat is a more reliable (and hands-off) option for long-term warmth.
Are there any seeds that won’t germinate faster with these methods?
Some seeds are light-dependent (like lettuce or poppies) and need sunlight to trigger germination—don’t bury them deep! Others, like wheatgrass or alfalfa, sprout fastest when not soaked. Always check your seed type: tiny seeds (e.g., carrots) or delicate sprouts (e.g., basil) may need gentler handling.
Wrapping up and next steps
Fast seed germination isn’t just about patience—it’s about strategic care! By mastering moisture, warmth, and a few clever tricks, you can coax seeds to sprout in record time. Whether you’re a gardening newbie or a seasoned green thumb, these methods will help you grow faster and harvest sooner.
Ready to put your newfound knowledge into action? Pick your favorite seeds, grab your supplies, and start experimenting! 🌱✨ Track your progress, tweak techniques, and soon you’ll be sharing your speedy sprouts with fellow plant lovers.