
Pruning
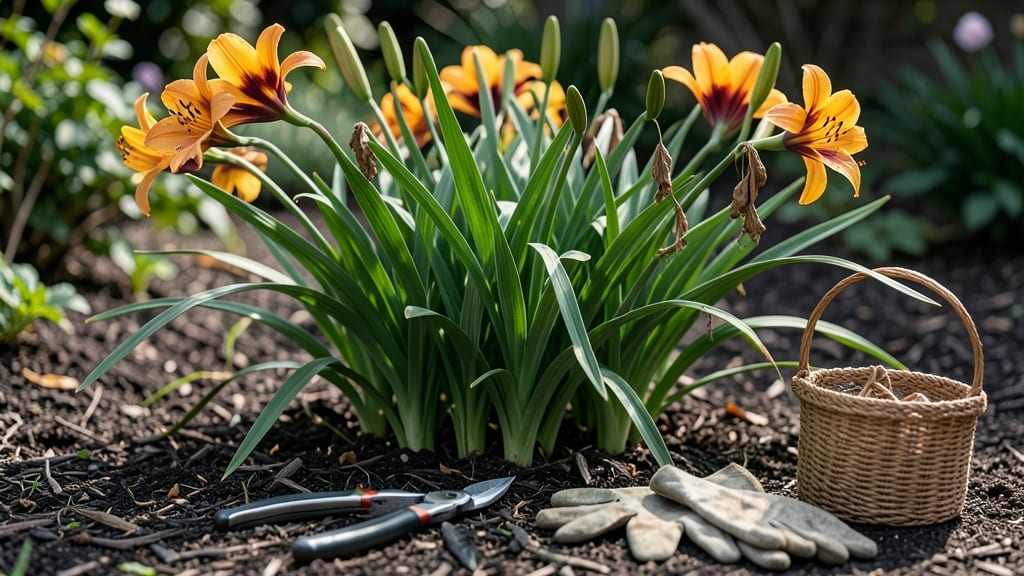
Deadheading daylilies isn’t just about tidying up—it’s the secret to longer blooms and stronger plants all season. 🌸 I’ve learned that skipping this step means fewer flowers and more seed pods taking energy from what you actually want: vibrant blooms.
The key is timing and technique, and once you master it, your daylilies will reward you with reblooming waves that last until frost.
You’ll need just three simple tools: sharp pruners (to avoid crushing stems), clean gloves (daylilies can be thorny), and a small bucket (for spent blooms or seed pods).
The best time to deadhead is right after blooms fade—before the seed pods form—but if you miss that window, don’t stress. Even mid-season deadheading keeps plants productive. For seed pods, decide upfront: remove them to encourage more blooms or save a few for propagation.
Here’s the magic: snip just above the first set of healthy leaves below the spent bloom. This redirects the plant’s energy to fresh growth instead of seed production.
If you’re saving seeds, let a few pods mature fully before harvesting—just don’t leave them on the plant if you want more flowers. The result? Thicker stems, bigger blooms, and plants that look like they’re on steroids by midsummer.
Pro tip: If your daylilies start looking leggy or sparse, it’s a sign you’ve been too aggressive with deadheading. Balance is everything—cut back but don’t scalp. And if you’re new to this, start with one plant as your “test subject” before tackling the whole garden.
Trust me, your daylilies will thank you with nonstop color from spring to fall.
📚 In This Guide
- What you need
- Instructions
- Tips and common mistakes
- Wrapping up and next steps
What you need
- ● Pruning saw – Only needed if dealing with overgrown daylily clumps (rare for seed pod removal).
- ● Knee pad or stool – For comfort if you’re working in a large garden bed.
- ● Spray bottle with water – Keeps tools clean and prevents sap from sticking to blades.
- ● Seed-saving envelopes or jars – If you plan to store seeds long-term, paper envelopes or airtight containers with silica gel work best.
- ● Compost bin or pile – For disposing of deadheaded blooms (rich in nutrients!).
How to deadhead daylilies and harvest seed pods
Here's the simple method I use to keep daylilies blooming all season while collecting seeds for next year.
✂️ Step 1: Identify and Remove Spent Blooms
Wait until the blooms fully open and show color, then watch for when the petals begin to droop and curl back slightly—that's your cue. Grab the spent bloom between your thumb and forefinger and give it a gentle twist. The flower should separate cleanly from the stem, leaving a small bump where it was attached.
If the bloom resists, use clean, sharp pruners to snip just above the bump. Never cut into the bump itself—this is where new buds form. I like to do this in the morning when the stems are stiff with dew, making the flowers easier to twist off without tearing the foliage.
🌱 Step 2: Locate and Collect Seed Pods
After deadheading, let 3-4 blooms per plant develop seed pods for propagation. These will appear as small green bulbs forming where the flower was attached. Wait until the pods turn brown and papery—this usually takes about 6-8 weeks after flowering. You'll know they're ready when they rattle slightly when shaken.
Gently twist the seed pod from the stem, being careful not to damage the foliage. Place the pods in a paper bag and store them in a cool, dry place for 2-3 weeks to fully dry. This drying period is crucial—wet seeds won't store properly and may mold.
🌿 Step 3: Store Seeds Properly for Next Year
Once the pods are completely dry, open them carefully over a clean sheet of paper. You'll find small, dark seeds inside. Use a fine mesh strainer to separate any chaff or debris from the seeds. Count your harvest—each pod typically yields 20-50 seeds, depending on the daylily variety.
Store the seeds in an envelope labeled with the variety name and the year collected. Keep them in a sealed container in your freezer for 3-6 months to break dormancy naturally. This cold stratification mimics winter conditions and helps ensure better germination rates when you're ready to plant.
⏰ Step 4: Maintain Your Daylilies for Continuous Blooms
After deadheading, your daylilies should continue producing new blooms from the same plant. Fertilize lightly with a balanced 10-10-10 fertilizer every 4-6 weeks during the growing season to encourage more flowers. Water at the base of the plant in the morning to keep the foliage dry and prevent fungal diseases.
In late fall, cut back the foliage to about 2 inches above ground level. This helps protect the crown from winter cold and encourages stronger growth in the spring. Daylilies are incredibly hardy, so they'll bounce back beautifully each year with minimal care.
Tips & tricks for deadheading daylilies and harvesting seed pods
Here's what I learned after years of perfecting my daylily care routine—these small details make all the difference.
Timing is Everything: Deadhead your daylilies in the morning when dew makes the stems stiff and easier to twist off. This reduces the chance of tearing foliage and gives the plant the whole day to recover. I've found that deadheading every 2-3 days keeps blooms coming all season—just watch for those telltale curled petals as your cue.
Pod Selection Strategy: When choosing which blooms to leave for seed pods, pick the healthiest ones with the most vibrant colors. These will produce the strongest, most viable seeds. I mark them with a small piece of colored tape tied to the stem so I don't accidentally deadhead them later.
Drying Secrets: The 2-3 week drying period for seed pods is non-negotiable—wet seeds won't store properly. I place my paper bags of pods in a well-ventilated area away from direct sunlight. A small fan on low setting helps speed up the process without damaging the pods.
Fertilizer Timing: When applying your 10-10-10 fertilizer every 4-6 weeks, do it right after deadheading. This gives the plant nutrients to produce new blooms while you're collecting seeds from the remaining pods. I always water thoroughly after fertilizing to prevent root burn.
Pro Tips for Deadheading Daylilies And Seed Pods
- Here's what I learned after years of perfecting my daylily care routine—these small details make all the difference.
- Timing is Everything: Deadhead your daylilies in the morning when dew makes the stems stiff and easier to twist off. ...
- Pod Selection Strategy: When choosing which blooms to leave for seed pods, pick the healthiest ones with the most vib...
Frequently asked questions
Got questions about deadheading daylilies and seed pods? You’re not alone! Here are answers to the most common concerns—so you can keep your garden thriving and save those seeds without the stress.
When is the best time to deadhead daylilies for seed pods?
Deadhead after the blooms fade but before the seed pods fully mature (usually late summer to early fall). Wait too long, and the pods dry out—making seed extraction harder. Aim for when the petals drop but the pod is still greenish and plump!
Do I need special tools to deadhead daylilies?
Nope! Clean pruners or even your fingers work. Just avoid tearing stems—use sharp scissors for a cleaner cut. Pro tip: Sterilize tools with rubbing alcohol between cuts to prevent disease spread.
What if my daylilies aren’t producing seed pods?
Check for these issues:
- Pollination: Daylilies need bees or butterflies. Hand-pollinate with a soft brush if needed.
- Variety: Some cultivars are sterile. Stick to heirloom or seed-saving types.
- Over-fertilizing: Too much nitrogen = more flowers, fewer pods. Cut back on feedings mid-season.
Can I deadhead daylilies in winter?
No—wait until spring! Deadheading in winter stresses plants and can invite rot. Focus on clearing dead foliage after the first frost, but leave seed pods until they’re fully dried (or harvested) in fall.
How do I store daylily seeds for planting?
Once pods are brown and crispy, extract seeds and let them dry in a paper bag for 1–2 weeks. Store in a cool, dark place (like a jar in the fridge) for up to 2 years. Label them! Varieties mix easily.
Wrapping up and next steps
Deadheading daylilies and seed pods doesn’t have to be a chore—it’s a simple way to keep your garden thriving while collecting viable seeds for future growth! 🌱 By following these steps, you’ll encourage healthier blooms, prevent unwanted spread, and even propagate new plants.
Now that you’re armed with the right tools and tips, grab your pruners and get growing! Your next step? Plan a seed-saving schedule or share your newfound skills with fellow gardeners—your green thumb will thank you!