
Propagation
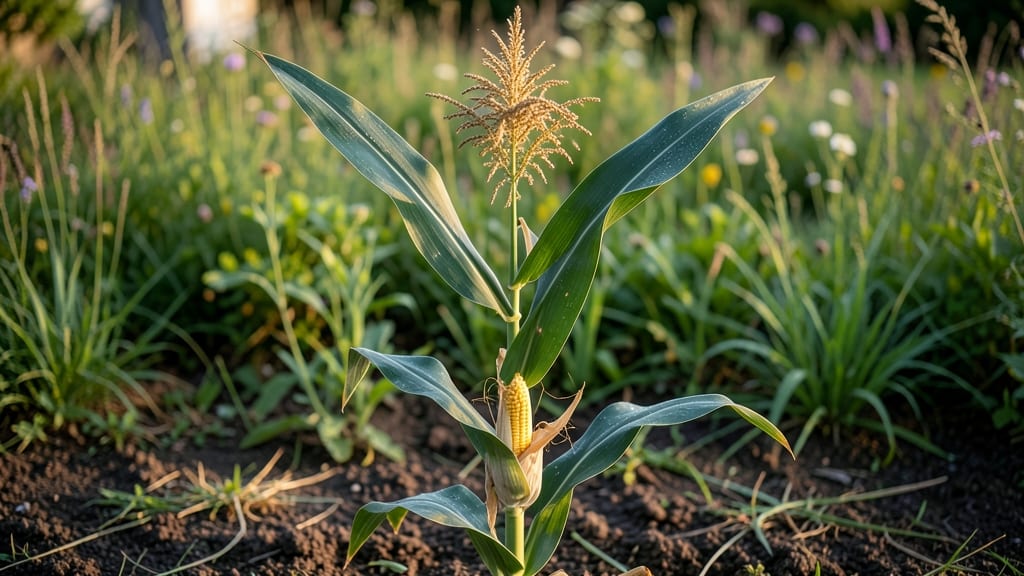
Growing corn from seed to harvest delivers the sweetest rewards—nothing beats pulling golden ears straight from your garden. 🌽 I’ve learned that timing, soil, and patience turn scraggly seedlings into towering stalks packed with kernels, and I’m breaking down every step so you can do the same, no matter your experience level.
The magic starts with the right seeds, soil, and spacing.
Corn thrives in warm soil (wait until after the last frost when night temps stay above 50°F), and it needs plenty of space—plant seeds 1 inch deep, 4 inches apart, in rows 3 feet apart for proper pollination.
Most varieties mature in 90 days, but check your seed packet to align planting with your first frost date.
By midsummer, you’ll watch those first leaves unfurl into 6-8 foot stalks with tassels swaying in the breeze. Consistent moisture (1-2 inches per week) and a balanced fertilizer keep plants vigorous, while watching for corn earworm and raccoons ensures your harvest stays intact.
The payoff? Juicy, homegrown corn that tastes nothing like store-bought.
Whether you’re growing sweet corn for summer meals or dent corn for fall storage, this method works in gardens big or small. Let’s get those seeds in the ground—your first harvest is just three months away!
📚 In This Guide
- What you need
- Instructions
- Tips and common mistakes
- Wrapping up and next steps
What you need
- ● Corn seeds: Choose hybrid varieties suited to your climate (e.g., Silver Queen or Sweet Golden Bantam). Aim for 1–2 seeds per hill, spaced 12–18 inches apart in rows 3 feet apart.
- ● Garden soil: Well-draining, fertile loam (pH 6.0–7.0). Amend with compost or aged manure (1–2 inches per planting area).
- ● Fertilizer: Balanced 10-10-10 NPK or organic options like cottonseed meal (apply at planting and sidedress at 6–8 inches tall).
- ● Water: Consistent moisture, especially during pollination (tasseling) (1–2 inches per week).
- ○ Garden tools: Trowel, hoe, rake, and corn planter (optional but helpful for precision).
- ● Stakes or trellis: For tall varieties (e.g., 10+ feet) to support heavy ears.
- ● Row cover: Lightweight fabric to protect seedlings from pests (e.g., flea beetles).
- ● Harvest tools: Sharp knife or pruners for cutting stalks, and gloves for handling silks.
- ● Soil tester kit: To check pH and nutrient levels before planting.
- ● Drip irrigation: For automated, efficient watering.
- ● Corn husk remover: A small tool to easily strip husks at harvest.
- ● Seedling heat mat: For early starts in cool climates (60°F+ soil temp required).
Step-by-step instructions for growing corn from seed to harvest
Here’s how to grow sweet, plump ears of corn in just 90 days—no shortcuts, just reliable results.
🌱 Step 1: Prepare the Planting Site for Maximum Growth
Corn thrives in loose, fertile soil with plenty of space to spread its roots. Choose a spot that gets full sun (6+ hours daily) and hasn’t grown corn, beans, or squash in the past year—these plants share diseases. Work in 2-3 inches of compost or aged manure into the top 6 inches of soil to boost drainage and nutrients.
Corn needs room to breathe—plant rows 3 feet apart and space individual plants 12 inches apart in the row. If you’re short on space, try a block planting (planting in squares instead of rows) to improve pollination. Test your soil’s pH—corn prefers 6.0-6.8. If yours is too acidic, add lime a few weeks before planting.
🌱 Step 2: Plant Seeds at the Right Depth and Spacing
Corn seeds are large and need warmth to germinate. Wait until the soil is at least 60°F and all frost risk has passed—cold soil delays germination or causes rot. Plant seeds 1 inch deep and 12 inches apart in rows, or 8-10 inches apart in blocks. Drop 2-3 seeds per hill and thin to the strongest seedling once they’re 4-6 inches tall.
Here’s the thing—corn is wind-pollinated, so you need at least 4 plants (or a 4x4 block) for good ear development. If you’re growing sweet corn, plant a mix of varieties (like bicolor and white) to attract more pollinators. Water gently after planting to settle the soil, but don’t overdo it—corn roots need air, not soggy conditions.
☀️ Step 3: Water Deeply and Maintain Consistent Moisture
Corn has deep roots, so it’s better to water deeply 1-2 times per week than daily shallow waterings. Aim for 1-1.5 inches of water per week, more during tasseling (when pollen forms) and ear development. You’ll know moisture is right when the top 2 inches of soil feel damp but not wet.
Watch for silking—the silky threads that emerge from the top of the plant—this is when corn needs the most water. If silks dry out or turn brown, pollination fails and you’ll get poor ears. Mulch around plants with 2-3 inches of straw or grass clippings to retain moisture and keep weeds down. Avoid wetting the leaves to prevent fungal diseases like rust or blight.
✂️ Step 4: Monitor for Pests and Fertility Needs
Corn earworms and corn borers are the biggest pests. Check plants weekly for small holes in leaves or chewed silk—signs of larvae. Handpick larger worms or use row covers early in the season. For fertility, side-dress plants with ½ cup of 10-10-10 fertilizer per hill when they’re 6-8 inches tall and again when tassels appear.
Real talk: Corn is heavy feeders, so don’t skimp on nutrients. Yellowing leaves mean it’s hungry—add compost tea or a balanced liquid fertilizer every 2-3 weeks during the growing season. Prune only dead or diseased leaves; otherwise, leave the plant alone. The goal is to let it focus on ear development, not recovery.
🌽 Step 5: Harvest at Peak Ripeness for Sweetest Corn
Corn is ready to harvest 18-22 days after silking (when the silks turn brown). Check for ripeness by peeling back a husk—look for milky white liquid in the kernels when pierced with your fingernail. If it’s clear, wait a day or two. The ears should feel firm and plump, not shriveled.
Harvest on a dry morning to preserve quality. Twist ears gently to avoid damaging the stalk, or cut with a sharp knife 1 inch above the ear. Store in the fridge for 3-5 days or blanch and freeze for long-term storage. If you miss the window, corn turns starchy and loses sweetness—but it’s still great for roasting or grinding into cornmeal!
Tips & tricks for growing sweet corn from seed
Growing corn from seed to harvest is a rewarding process—here's how to avoid common pitfalls and get the best results from your garden.
Soil Preparation: The 2-3 inches of compost you work into the top 6 inches of soil is your foundation for success. I like to add a handful of bone meal at planting time for extra phosphorus—corn needs it for strong roots and ear development. Don't skip the pH test; if your soil is below 6.0, add lime a few weeks before planting so it has time to integrate fully into the soil.
Timing is Everything: Planting when soil reaches at least 60°F is non-negotiable. I've learned this the hard way—cold soil causes seeds to rot before they even sprout. Use a soil thermometer to check in the morning when soil is coolest. If you're in a cooler climate, consider using black plastic mulch to warm the soil faster and extend your growing season.
Pollination Strategy: That at least 4 plants requirement isn't just a suggestion—it's critical for proper pollination. I've seen gardens with only 2 plants produce ears with missing kernels. For guaranteed success, plant in blocks rather than rows. The closer plants are, the better they'll pollinate each other. Mixing varieties like bicolor and white corn also attracts more pollinators to your garden.
Watering Wisdom: The 1-1.5 inches of water per week guideline is perfect, but timing matters just as much. Water in the morning so leaves have time to dry before evening. During silking, increase to 2 inches per week—this is when corn needs the most moisture. I use a rain gauge to track exactly how much water my plants are getting, especially during dry spells.
Pro Tips for Corn From Seed To Harvest
- Growing corn from seed to harvest is a rewarding process—here's how to avoid common pitfalls and get the best results...
- Soil Preparation: The 2-3 inches of compost you work into the top 6 inches of soil is your foundation for success. I ...
- Timing is Everything: Planting when soil reaches at least 60°F is non-negotiable. I've learned this the hard way—cold...
Frequently asked questions
Got questions about growing corn from seed to harvest? You’re not alone!
Whether you're a first-time gardener or a seasoned pro, these answers will help you navigate the journey—from planting to that golden, ear-filled payoff. Let’s dive in!
How deep should I plant corn seeds?
Plant corn seeds about 1 to 1.5 inches deep in well-drained soil. Use your finger to create a small trench, drop in 2-3 seeds per hole, and cover them lightly. Pro tip: Space rows 24–36 inches apart to give plants room to grow and prevent crowding. Thinning seedlings later ensures stronger stalks!
How long does it take for corn to go from seed to harvest?
Most corn varieties mature in 70–100 days, but check the seed packet for your specific type. Sweet corn, for example, typically takes 90 days from planting to harvest. Start seeds indoors 2–4 weeks before the last frost, or direct-sow after soil temps hit 60°F (15°C) for best results.
Can I grow corn in containers? What size pot do I need?
Yes! Corn needs deep roots, so opt for containers at least 12–18 inches deep and 12+ inches wide. A 5-gallon bucket or large fabric grow bag works well for dwarf varieties like ‘Bodacious’ or ‘Golden Bantam.’ Just ensure the pot has drainage holes and use a high-quality potting mix.
What are the most common corn pests, and how do I prevent them?
Watch for corn earworms, aphids, and raccoons (yes, they love corn too!). Use row covers early in the season to deter pests, and handpick earworms if spotted. Pro tip: Plant marigolds or nasturtiums nearby to repel insects naturally. For raccoons, harvest promptly or use fencing to protect your crop.
Why did my corn tassels dry up before pollination?
Dry tassels often mean heat stress, drought, or poor pollination. Corn needs consistent moisture (1–1.5 inches per week) and warmth (75–85°F) for pollination. If tassels dry early, hand-pollinate by transferring pollen from tassels to silks with a paintbrush. Also, ensure plants are well-spaced—crowding reduces airflow and pollination success.
Wrapping up and next steps
From seed to harvest, growing corn is a rewarding journey that connects you to the earth’s bounty in just 90 days! 🌽 Whether you’re a beginner or a seasoned gardener, understanding each step—from soil prep to harvesting—ensures a thriving crop.
With patience, care, and a little know-how, you’ll enjoy fresh, homegrown ears of corn straight from your garden.
Ready to take the next step? Start small—plant a few rows this season, experiment with varieties, and watch your confidence (and corn stalks!) grow. Happy planting! 🌱