
Propagation
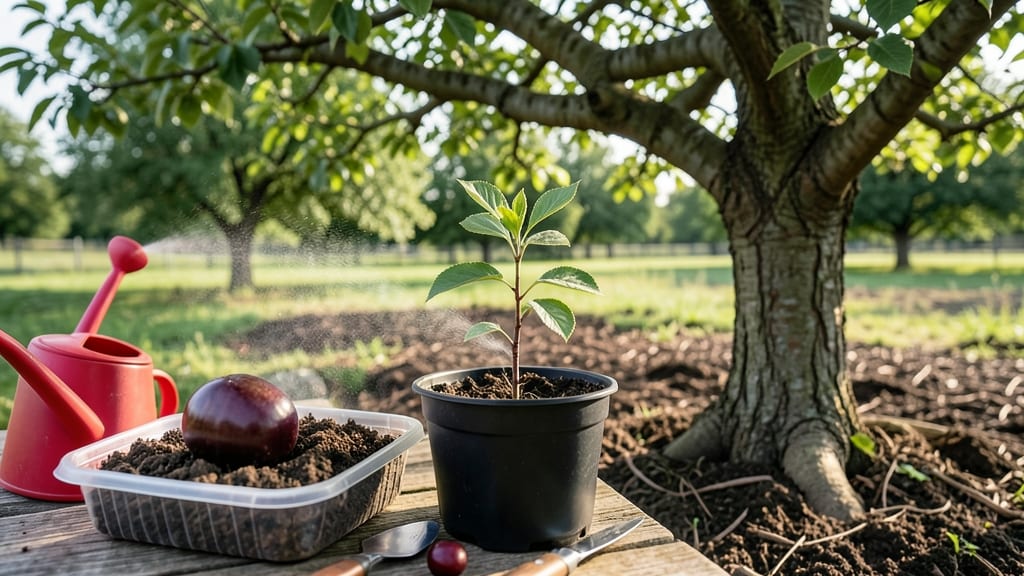
Growing a cherry tree from seed to fruit starts with patience and a handful of pits from your favorite grocery store cherries. 🌱 The journey takes years, but those first sweet-smelling blossoms in spring make every step worth it—especially when you're the one who nurtured them from a tiny seed.
Most gardeners quit after germination, but sticking with it through the slow-growing years leads to that magical first harvest of homegrown fruit.
The first 60 days are all about breaking dormancy and encouraging those stubborn pits to sprout. You'll need a warm, damp environment (think paper towel sandwiches under a heat mat) to coax them awake before transferring to soil.
Most seeds germinate within 3-4 weeks, but some take twice as long—don't give up if yours are slow starters. Once sprouted, they'll need bright light to prevent leggy seedlings, and you'll want to keep the soil consistently moist but never soggy.
By year three, you'll see real growth—branches forming, leaves thickening—and that's when the pruning begins. Strategic cuts now shape the tree's structure and encourage strong fruiting branches later. The real payoff comes 5-7 years in, when white blossoms cover the tree in spring and tiny cherries start forming.
With proper pollination (plant two trees for cross-pollination) and consistent care, you'll finally taste the reward of your patience.
This method works best in zones 5-9, where cherry trees thrive with full sun and well-draining soil. Northern gardeners may need to extend the growing season with row covers, while hotter climates benefit from afternoon shade during summer.
The key to success is consistency—watering, pruning, and protecting young trees from pests like aphids and borers. Every gardener's journey with cherry seeds is different, but the results are always sweet.
📚 In This Guide
- What you need
- Instructions
- Tips and common mistakes
- Wrapping up and next steps
What you need
- ● Growing cherries from seed is a rewarding journey, and having the right materials ensures a smooth start! Here’s everything you’ll need to kick off your cherry-from-seed adventure with confidence. 🌱
- ● Pro tip: 💡 Label everything! Cherry seedlings can take 2–4 years to bear fruit, so mark your pots with the date and variety to stay organized.
Step-by-Step instructions for growing cherries from seed to fruit
Here’s how to turn a cherry pit into a thriving tree with fruit—no fancy tools needed.
🌱 Step 1: Extract and Stratify the Seed
Start with fresh, fleshy cherries. Remove the pit, clean off any remaining fruit, and let it dry for 24 hours at room temperature. This prevents mold during stratification. Place the pit in a small container with damp paper towels—not soggy, just enough to keep it moist. Seal it in a plastic bag and refrigerate for 6-8 weeks at 35-40°F. This mimics winter’s cold period, breaking the seed’s dormancy.
Check the pit weekly. If it feels dry, mist it lightly with water. Once you see a tiny white root sprout (about ¼ inch long), it’s ready to plant. Cold stratification is the secret—skipping it means waiting months (or never) for germination.
🪴 Step 2: Plant the Stratified Seed
Fill a 4-inch pot with well-draining potting mix (avoid garden soil—it’s too dense). Plant the seed 1 inch deep, root-side down, in the center of the pot. Gently press the soil around it to remove air pockets. Water lightly until the soil is evenly moist but not soggy. Place the pot in a warm spot (65-75°F) with bright, indirect light—like a sunny windowsill away from direct afternoon sun.
Keep the soil consistently moist (not wet) by watering when the top ½ inch feels dry. Germination takes 2-6 weeks. You’ll know it’s working when the first true leaves (not the initial seed leaves) appear. If nothing sprouts after 8 weeks, try another pit—some seeds just need more time.
☀️ Step 3: Nurture the Seedling to Transplant Size
Once the seedling reaches 6 inches tall (usually 3-4 months), it’s ready for its first repotting. Move it to a 1-gallon pot with fresh potting mix. Place it outdoors in partial shade for a week to acclimate. After that, gradually introduce it to full sun (6+ hours daily) over 10 days. Too much sun too soon scorches delicate leaves.
Fertilize lightly every 4-6 weeks with a balanced, water-soluble fertilizer (10-10-10). Water deeply once a week, letting the soil dry slightly between waterings. You’ll notice new growth spurts—this is your cue to keep it well-fed but not overwatered. Root rot is the silent killer of young seedlings.
⏰ Step 4: Prepare for Outdoor Planting
After 1 year, your cherry tree should be 3-4 feet tall with a sturdy trunk. Choose a permanent outdoor spot with full sun and well-draining soil. Dig a hole twice as wide as the root ball but no deeper. Amend the soil with compost to improve fertility. Plant the tree at the same depth it was in the pot—burying the trunk too deep suffocates it.
Water deeply after planting to settle the soil. Mulch around the base with 2-3 inches of organic mulch (like wood chips) to retain moisture and regulate temperature. Stake the tree only if it looks unstable—cherry trees grow tall fast, and wind can topple them. Prune any broken or crossing branches to encourage strong growth.
🍒 Step 5: Patience for Fruit (5+ Years Away!)
Here’s the thing—cherry trees from seed take 5-10 years to bear fruit. That’s why I recommend planting 2-3 pits at once: not all will thrive, and you’ll want options. Focus on consistent care: watering during dry spells, fertilizing in early spring, and protecting young trees from pests (like deer or rabbits) with a light fence if needed.
When flowers finally appear, you’ll know you’ve done it right. Cherries grown from seed may not produce fruit identical to the parent tree, but the process is rewarding. Celebrate the journey—every leaf, every branch, is a step closer to your own homegrown cherries.
Tips & tricks for growing cherries from seed to fruit
Here's what nobody tells you about turning a simple pit into a thriving tree—these tricks cut the guesswork.
Stratification Secret: Don't rush the 6-8 week cold period in Step 1. I've learned the hard way that skipping this mimics winter's natural dormancy break—without it, seeds often rot or take months to sprout. Place your sealed bag on a refrigerator shelf (not the crisper drawer) where temps stay steady at 35-40°F. Pro tip: Use a small thermometer to monitor—fluctuations can delay germination.
Germination Cues: In Step 2, watch for that first white root sprout about ¼ inch long before planting. I've waited too long, only to find the seedling already pushing through the soil when I finally checked. Use a bright light source (like a desk lamp) to inspect weekly—this helps you catch the perfect moment without disturbing the seed.
Light Management: Step 3's gradual sun transition is critical. I've seen seedlings get crispy leaves when moved too fast to full sun. Start with 2 hours of morning sun, then add 1 hour each subsequent day. A south-facing window works great for this acclimation period—just rotate the pot daily so all sides get even light exposure.
Pest Prevention: After outdoor planting in Step 4, I recommend wrapping the trunk with wire mesh (about 12 inches high) to deter rabbits and deer. This seems extreme, but I've had hopeful saplings completely demolished overnight. The mesh also protects against late-season frost damage when young trees are most vulnerable.
Pro Tips for Cherry From Seed To Fruit
- Here's what nobody tells you about turning a simple pit into a thriving tree—these tricks cut the guesswork.
- Stratification Secret: Don't rush the 6-8 week cold period in Step 1. I've learned the hard way that skipping this mi...
- Germination Cues: In Step 2, watch for that first white root sprout about ¼ inch long before planting. I've waited to...
Frequently asked questions
Got questions about growing cherries from seed? You’re not alone—this process can feel tricky, but with the right know-how, you’ll be harvesting sweet rewards in no time! Below are answers to the most common queries, from timing to troubleshooting, so you can grow with confidence.
How long does it take for a cherry seed to sprout?
A cherry seed typically sprouts in 4 to 8 weeks under ideal conditions (warmth, moisture, and indirect light). Some seeds may take longer—up to 3 months—especially if they’re fresh or stored improperly. Pro tip: Soak seeds for 24 hours before planting to speed up germination!
Can I grow a cherry tree from any seed, or do I need a specific variety?
You can grow a cherry tree from any seed, but the fruit may not match the parent plant’s traits (color, size, or flavor). For predictable results, buy seeds from a named variety (like ‘Bing’ or ‘Rainier’) from a reputable supplier. Bonus: Grafting later ensures consistency if you’re patient!
What’s the best temperature for germinating cherry seeds?
Cherry seeds thrive in warmth—aim for 70–80°F (21–27°C). Use a heat mat or place them near a sunny window. If your home is cooler, try a seedling heat mat or a warm spot like on top of the fridge. Warning: Avoid direct heat sources (like radiators), which can dry them out.
Why won’t my cherry seed germinate? Troubleshooting tips.
If your seeds aren’t sprouting, check these common issues:
Too cold? Move them to a warmer spot.
Too dry? Keep soil consistently moist (not soggy).
Old seeds? Fresh seeds (from ripe fruit) germinate best.
No light? Seeds need indirect light after sprouting.
Still stuck? Try stratification (mimicking winter) by refrigerating seeds for 4–6 weeks before planting.
Will a cherry tree grown from seed produce fruit?
Yes, but it may take 5–10 years (or longer!) for a seed-grown tree to bear fruit. Patience is key—young trees focus on root and trunk growth first. Pro tip: If you want faster results, consider grafting a fruiting variety onto your seedling later.
Wrapping up and next steps
Growing cherries from seed to fruit is a rewarding journey that combines patience, care, and a touch of nature’s magic! 🌱 By following these steps—from selecting the right seed to nurturing your sapling—you’ll unlock the joy of watching tiny seeds transform into lush trees bearing sweet, juicy cherries. Remember: consistency is key, and even small efforts yield big results over time.
Ready to take the next step? Why not plant your first seed today? Share your progress with fellow gardeners, experiment with different cherry varieties, or even explore grafting techniques to accelerate fruit production. Every gardener’s adventure starts with a single seed—so grab your gloves and get growing! 🌟