
Size
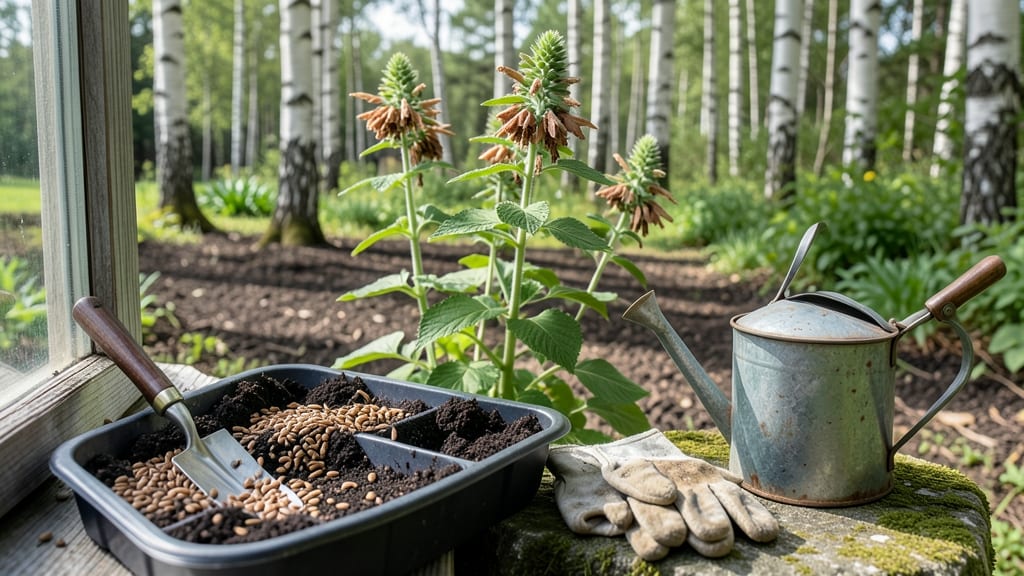
Growing bee balm seed in a garden delivers vibrant red-pink blooms that hummingbirds and bees adore—if you crack the cold-stratification code. 🌱 I’ve learned that skipping this step means waiting months for germination, but with the right timing and chilly trick, you’ll see those first leaves in just 60 days.
The secret lies in mimicking winter’s freeze-thaw cycle before planting, and I’ll walk you through every step so your seeds don’t sit dormant like mine did last spring.
You’ll need well-draining potting mix, a sealed plastic bag, and patience—this isn’t a fast process. Start seeds indoors 8-10 weeks before your last frost, pressing them just ¼ inch deep into moist soil.
After cold-stratifying for 4-6 weeks in the fridge, transplant them into a sunny spot where they’ll get 6+ hours of light daily. Bee balm thrives in moist but not soggy soil, so mulch helps retain water while keeping roots cool.
By late spring, you’ll be rewarded with clusters of tubular flowers that attract pollinators all summer. The plants grow 2-4 feet tall, so space them 18-24 inches apart to prevent overcrowding.
Just watch for powdery mildew—thin foliage and morning watering keeps it at bay. Pair bee balm with coneflowers or lavender for a pollinator magnet that blooms from June through frost.
Once established, bee balm spreads easily, so divide clumps every 3-4 years to keep them vigorous. The first year is all about setting roots, but by year two, you’ll have a low-maintenance powerhouse that outshines store-bought plants.
Pro tip: Deadhead spent blooms to encourage more flowers, and your garden will buzz with activity all season long.
📚 In This Guide
- What you need
- Instructions
- Tips and common mistakes
- Wrapping up and next steps
What you need
- ● Bee balm seeds: 1 packet (50-100 seeds, depending on variety). Look for Monarda didyma or Monarda fistulosa for vibrant blooms.
- ● Cold stratification supplies: Plastic bag or airtight container
- ● Moistened paper towels or peat moss
- ● Seed-starting mix: 1 bag (1 quart) of high-quality, sterile potting soil (e.g., Pro-Mix or FoxFarm).
- ● Seed trays or small pots: 2-4 (4-inch diameter) with drainage holes.
- ● Grow lights or sunny windowsill: A 12-16 hour daily light source for seedlings.
- ● Spray bottle: For gentle watering to avoid disturbing seeds.
- ● Transplanting tools: Small trowel or spoon
- ○ Garden gloves (optional but helpful)
- ● Fertilizer: Balanced liquid fertilizer (e.g., 10-10-10) for post-transplant growth.
- ● Mulch: Organic mulch (e.g., straw or shredded leaves) to retain moisture.
- ● Pest deterrents: Neem oil or insecticidal soap for aphid/Spider mite prevention.
- ● Garden markers: To label varieties if growing multiple types.
Step-by-step instructions for growing bee balm from cold-stratified seeds
Here's how to coax those vibrant blooms from tiny seeds using nature's timing cues.
🌱 Step 1: Stratify Seeds for Successful Germination
Bee balm seeds need a cold period to break dormancy—this mimics winter's natural cycle. Place your seeds in a sealed plastic bag with slightly damp peat moss or a paper towel. Store them in your refrigerator's crisper drawer for 4-6 weeks at 35-40°F. Check weekly to ensure the medium stays moist but not soggy.
This cold treatment ensures seeds won't rot before sprouting. After 4 weeks, transfer the bag to room temperature for another 2 weeks to complete stratification. You'll see tiny roots forming—this is your signal they're ready to plant.
🪴 Step 2: Prepare Planting Containers and Soil Mix
Use 4-inch diameter pots filled with a well-draining mix of 50% potting soil and 50% perlite. Bee balm hates soggy roots, so the perlite prevents compaction. Moisten the mix until it's damp like a wrung-out sponge—neither bone-dry nor dripping.
Fill each pot to 1 inch below the rim, leaving space for seeds. Tap the container gently to settle the soil without compacting it. The goal is a loose, airy medium that lets roots spread easily. I like to pre-warm the soil mix on a seedling heat mat for 24 hours before planting—this jumpstarts germination.
💧 Step 3: Sow Seeds and Maintain Ideal Conditions
Plant 2-3 seeds per pot at a depth of 1/8 inch—just enough to cover them lightly. Press gently but don't pack the soil. Mist the surface with a spray bottle until evenly moist. Place pots in a humidity dome or cover with plastic wrap to retain moisture and warmth.
Keep the soil at 65-70°F using a seedling heat mat. Germination takes 2-4 weeks, so patience is key. Remove the dome immediately after sprouts appear—condensation encourages fungal diseases. Thin to the strongest seedling once first true leaves emerge.
☀️ Step 4: Provide Light and Harden Off Seedlings
Move seedlings to a south-facing window or under grow lights for 14-16 hours daily. Bee balm needs bright light to prevent leggy growth. If stems stretch toward the light, raise the grow lights to 4 inches above the plants immediately.
Two weeks before transplanting, begin hardening off by placing seedlings outside in partial shade for 1-2 hours daily. Gradually increase exposure over 10 days, ending with full sun. Watch for deep green leaves and sturdy stems—these indicate readiness for the garden.
✂️ Step 5: Transplant and Maintain Through First Season
Plant seedlings 18-24 inches apart in full sun to partial shade. Bee balm thrives in moist, well-drained soil with morning sun and afternoon shade in hot climates. Water deeply at the base after transplanting to reduce shock.
Deadhead spent blooms regularly to encourage continuous flowering. Divide clumps every 3-4 years in early spring to maintain vigor. You'll see bright red, pink, or purple blooms by late summer—just reward for your patience with cold stratification.
Tips & tricks for perfect cold-stratified bee balm blooms
Cold stratification might sound complicated, but these insider tricks will help you avoid common pitfalls and get the most vibrant bee balm blooms possible.
Timing Secret: While the 4-6 week cold stratification period is ideal, don't worry if your fridge isn't perfectly consistent at 35-40°F. Most home refrigerators hover around 38°F in the crisper drawer—this is actually perfect! The key is consistency, not precision. I've had great results with fridge temps ranging from 34-42°F as long as the seeds stay consistently cold. Just avoid temperature swings by placing them on a shelf rather than the door.
Moisture Management: The damp peat moss or paper towel should feel like a wrung-out sponge—soggy but not dripping. I use a spray bottle to mist the seeds weekly rather than soaking them. Too much moisture causes rot, while too little prevents germination. Pro tip: Place a small piece of mesh fabric over the seeds in your bag to prevent them from sticking directly to the damp medium, which can inhibit root formation.
Soil Preparation: The 50/50 mix of potting soil and perlite is crucial for preventing soggy roots, but don't skip the 24-hour pre-warming on a seedling heat mat. This jumpstarts germination by warming the soil to about 70°F before seeds even sprout. For extra insurance, I like to add a handful of compost to the mix—this provides beneficial microbes that help seedlings establish stronger root systems right from the start.
Lighting Strategy: When moving seedlings to 14-16 hours of daily light, position grow lights about 6 inches above the seedlings initially. As they grow, raise them to maintain that 4-inch distance. I've found that using a simple timer for lights eliminates guesswork—set it for 14 hours on, 10 hours off, and forget about it. For seedlings that stretch toward the light (a sign of legginess), I rotate the pots daily to encourage even growth rather than just raising the lights.
Pro Tips for Bee Balm Seed Grow A Garden
- Cold stratification might sound complicated, but these insider tricks will help you avoid common pitfalls and get the...
- Timing Secret: While the 4-6 week cold stratification period is ideal, don't worry if your fridge isn't perfectly con...
- Moisture Management: The damp peat moss or paper towel should feel like a wrung-out sponge—soggy but not dripping. I ...
Frequently asked questions
about growing bee balm from seed—because every gardener deserves a little clarity before diving in!Do bee balm seeds need cold stratification?
Yes! Bee balm seeds require cold stratification (60 days in the fridge) to break dormancy. Skip this step, and you’ll likely see little to no germination. Mix seeds with moist sand or peat moss in a sealed bag for best results.
How long does it take for bee balm seeds to germinate?
After cold stratification, germination typically takes 14–30 days in warm soil (60–70°F). Patience is key—keep soil consistently moist but avoid waterlogging. A humidity dome or plastic wrap can speed things up!
Can I grow bee balm from cuttings instead of seeds?
Take 4–6 inch cuttings from healthy stems in early summer, strip the lower leaves, and root them in water or moist perlite. Once roots form (2–4 weeks), transplant to soil. This method is faster than seeds but requires a mature plant to start.
Why aren’t my bee balm plants flowering?
Common culprits:
- Overcrowding—thin seedlings to 12–18 inches apart for better airflow.
- Poor light—bee balm thrives in full sun (6+ hours daily).
- Deadheading delay—snip spent blooms to encourage more flowers.
Is bee balm hardy in cold climates?
Yes! Bee balm (Monarda spp.) is perennial in USDA zones 4–9. In colder zones, mulch heavily in fall to protect roots. Some varieties (like Monarda didyma) may need winter protection but bounce back robustly in spring.
Wrapping up and next steps
Growing bee balm from seed is a rewarding journey that brings vibrant blooms and buzzing pollinators to your garden in just 60 days—and with a little cold stratification, you’re well on your way! 🌱 Whether you’re a seasoned gardener or a beginner, these cold-hardy seeds are forgiving and full of potential.
Now that you’ve got the know-how, it’s time to roll up your sleeves and plant those seeds with confidence.
Your next step? Mark your calendar for the first frost date, prep your soil, and start those seeds indoors or outdoors. Watch as your garden transforms into a hummingbird and bee magnet—you’ve got this! 🐝✨